The Wallboard
QueueMetrics includes user-definable wallboard facilities that allow you to design your own wallboards and run them either interactively or as proper stand-alone wallboards.
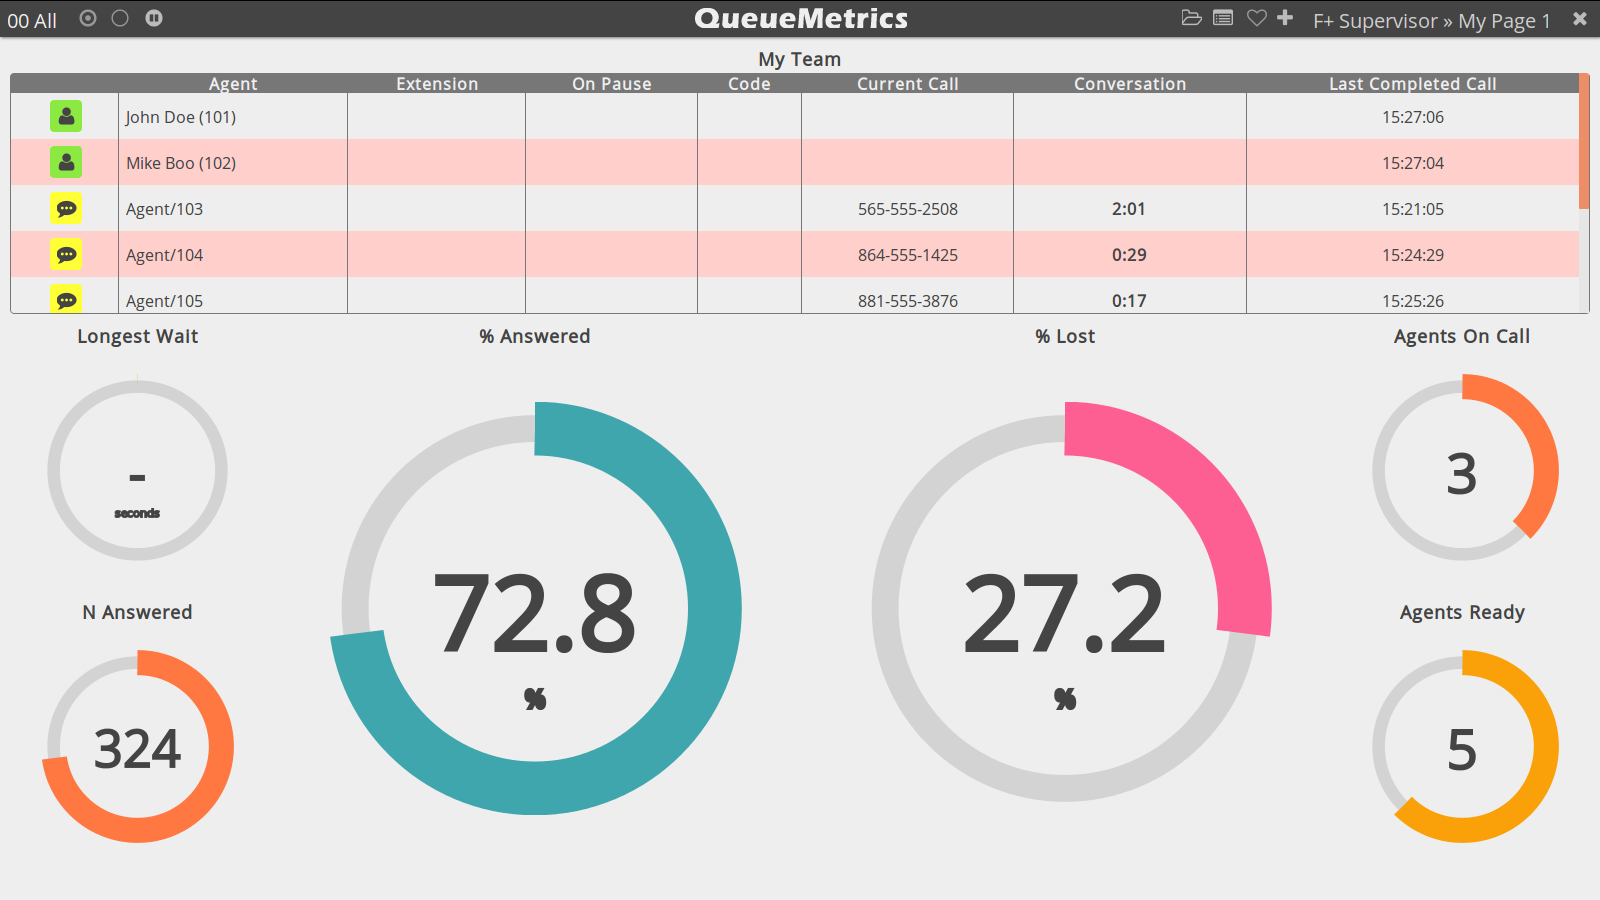
Wallboards are built as a series of rotating views, each of which includes a number of widgets. Widgets are positioned as items on a square grid that is meant to fill the screen, and you can control the number of columns that you want to use.
Wallboards are meant to be customized - you can change colors, set alarms on specific widgets, include text and images and in general customize them to suit your specific needs. Wallboards can be private or public, in which case they can be shared between different users and can be used to run automated stations (see "Kiosk mode" below).
Understanding wallboards
A wallboard is controlled through the top bar. The top bar:
-
Displays the current queue or queues that are being used as data sources.
-
Displays a number of circles, one for each view. By clicking on a widget, you can jump to a specific view. The current view is displayed as a dotted circle.
-
Displays a Play/Pause button that lets you decide whether views rotate in order according to their expected durations or the current view remains visible. If you do any change to the page, rotation stops automatically until manually reactivated.
-
Displays a Load button that lets you load other wallboards that are visible to you or create a new, blank wallboard.
-
If the wallboard has unsaved data (e.g. because you adde some widgets or moved them around), a Save button apperas in the top bar that lets you save the current wallboard. Switching view when you have unsaved data will lose any unsaved data.
-
There is a Reorder button that lets you change the sequence of views in the current wallboard and add/remove views.
-
There is a heart-shaped icon that displays whether the wallboard you are looking at is public or private. By clicking on that icon within a public wallboard, you get the URL that you need to run the wallboard in kiosk mode copied to your clipboard.
-
There is an Add Widget button that lets you add new widgets to the current view.
-
There is a title, showing the name of the current wallboard and of the current view. By clicking on it, you can customize some properties for both wallboard and view.
-
There is an Exit button that gets you back to your QueueMetrics session.
| In order to access the wallboard, you need the security key REALTIME. To edit a wallboard you need the key WALLBOARD_ADD and to create a public wallboard you need the key WALLBOARD_FORALL. You can easily add those keys though the User editor or by adding them to a security class. |
Saved Wallboards
The default wallboard is accesible though the link "Wallboard" on the home page of QueueMetrics, using the current queue(s) selected. From the wallboard itself you can load other wallbords though the Load button.
Your wallboards, and all public wallboards visible to you, will appear on the home page in the "Wallboards" section. By clicking on them, they will open with the current selected queue. You can also delete existing wallboards by clicking on the "Remove" icon hovering over their home page link.
Settings
By clicking on the title of the wallboard, you can edit the following properties:
For the whole wallboard:
-
Name that the wallboards appears under. You can have multiple wallboards with the same name
-
Comment is a free text comment you may want to save
-
Public controls whether the wallboard appears on every user’s home page (as restricted by the security key) or is private for you
-
Security key lets you protect this wallboard from users who do not hold the specified key
For the current view:
-
Name is the name of the current view. Multiple views within a wallbord may have the same name, though it would be better to use different names
-
Duration is the duration in seconds that a wallbard is displayed on the screen before the next wallboard. Data is updated live when a wallboard is being displayed.
-
Number of Columns is the size of the grid that the screen is horizontally split into. This is the minimum size for a widget, though you can stretch a widget to use multiple grid cells as you best see fit.
Editing Widgets
Widgets can be added, moved, cloned or removed freely within a view. You should position a widget in a way that makes sense for your use case, giving it enough room to display its data in a way that is easy to see.
Most widgets will resize automatically in the space they are given to offer a good readability and to make full use of the space they are assigned.
If you can edit a widget, when you fly over it with your mouse it will display an Edit widget icon and it will go in editor mode. Though the editor you can:
-
Clone the widget
-
Remove the widget
-
Change the title
-
…and edit any special configuration it has (see below for a description of all availabe widgets)
As of QueueMetrics 17.06.11, most of the widgets can be filtered by queue. If you are using the wallboard to monitor multiple queues at the same time, you can use the queue filtering function to apply the widget to a single queue instead of applying it to the aggregation of all the queues data.
As of QueuemMetrics 19.04.1, all the widgets that can be filtered by queue, can be filtered by multiple queues, instead of a single one at a time.
When you save a widget, the whole wallboard is saved automatically.
Alarms
Most widgets have a set of possible custom alarms that you can use to display them in a different color when an alarm condition is met. Custom alarms are expressed as simple expressions, e.g. ">10" or "<15".
If QueueMetrics has a system alarm set on the queue shown and no custom alarm set, then the correct system alarm is used. Custom alarms always take precedence on system alarms.
Running in kiosk mode
If you want to run a wallboard in kiosk mode, the first thing that you need is to get its kiosk URL. You can obtain this by clicking on the "heart" icon. The URL might appear like the one below, for queues 300 and 301:
http://127.0.0.1:8080/QM/qm_wab2.do?user=robot&pass=***
    &queues=300%7C301&wallboardId=21
As you can see, you can edit which (atomic) queues you want to use for your wallboard by
separating them with an URL-encoded pipe "|" character, that is %7C.
| The URL will always include a user called robot with password ***; edit it as necessary given the current settings of your "robot" user. Make sure that the robot user is enabled, as it is usually present but disabled on new QueueMetrics installs. |
If you connect a small-cost Linux box (e.g. a Raspberry PI or similar) to a large screen or a video beamer and set it in your call-center where it will be visible by your agents, you can set-up a wallboard at a very low cost using commodity hardware and requiring no human intervention but turning it on in the morning and turning it off at night.
The Kiosk mode requires a user with the REALTIME and ROBOT grants - they are already set with the
default ROBOT user.
Contextual menu
Since QueueMetrics 19.04.1, the wallboard offers a contextual menu that can be opened with the right click button.
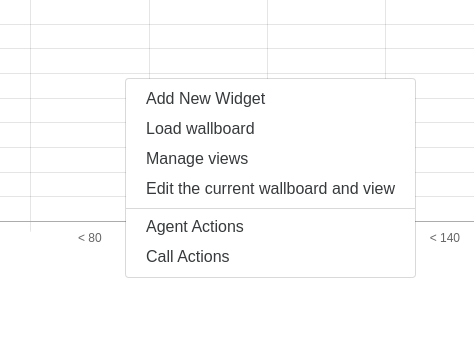
Through this menu, you can access the same functions present in the top bar, like adding widgets or loading wallboards, together with two new functions:
-
Agent actions
-
Call actions
Agent actions
By selecting the Agent actions option, you will open the Agent action panel.
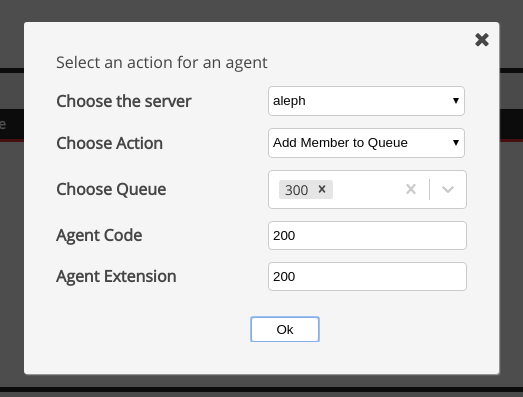
In this panel you can select one of the following actions:
-
Add member to queue
-
Remove member from queue
-
Pause agent
-
Unpause agent
You also need to specify different parameters for each action, that will show in the rest of the panel:
-
Queue (if needed)
-
Agent code
-
Agent extension (if needed)
-
Server (if needed)
-
Pause code (if needed)
Call actions
By selecting the call actions option, you will open the Call action panel.
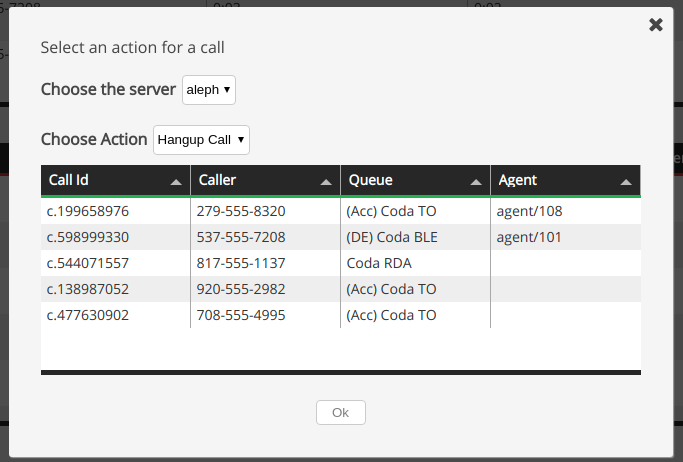
In this panel you can select one of the following actions:
-
Hangup call
-
Monitor call
-
Transfer call
A table will also appear in the panel, showing the current calls. To select the call you want to execute the action upon, click on the desired call in the table and it will highlight.
You also need to specify different parameters for each action, that will show in the rest of the panel:
-
Server (if needed)
-
Ext. to transfer to (if needed)
-
Local Extension (if needed)
-
Monitoring mode (if needed)
Exporting a Wallboard
To export a Wallboard, move your mouse over the top bar menu as shown in the screenshot, and click on "Export".
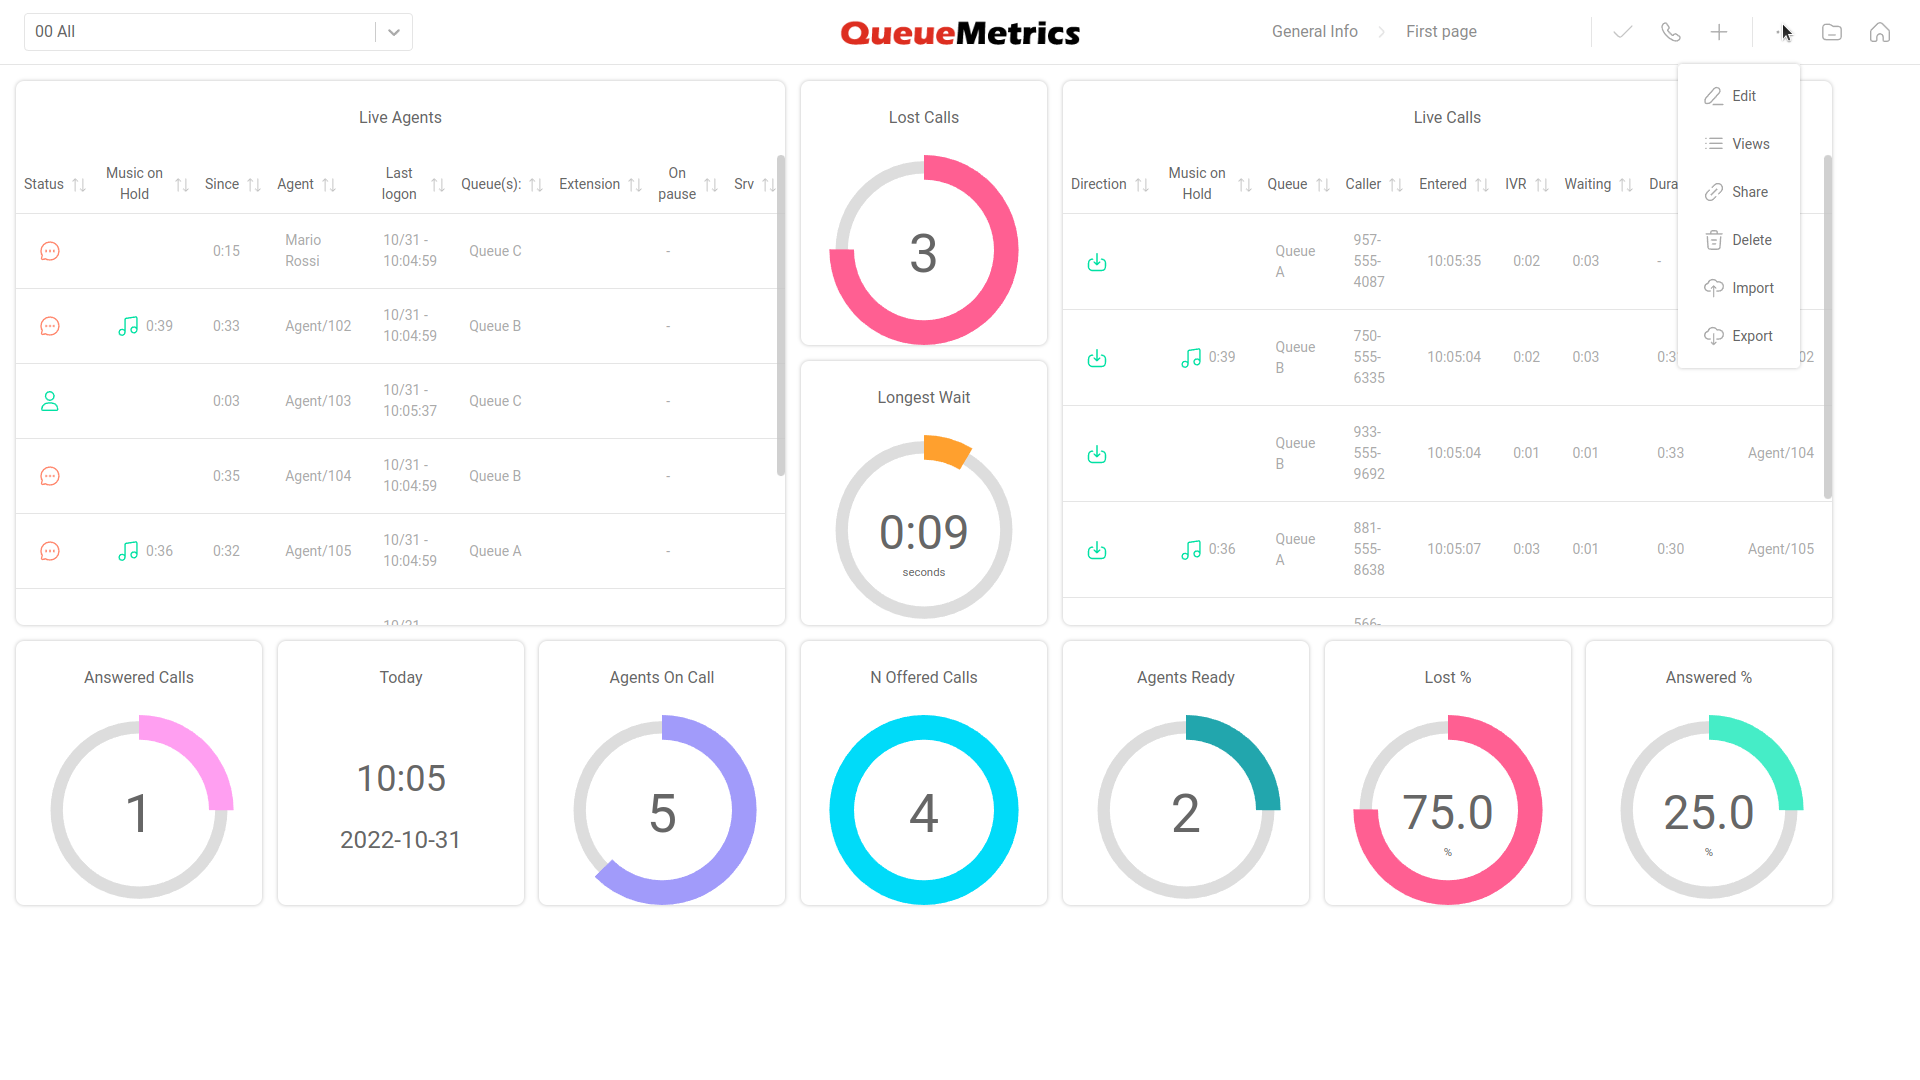
This should open the Wallboard Export panel, where you can pick a file name for the exported Wallboard.
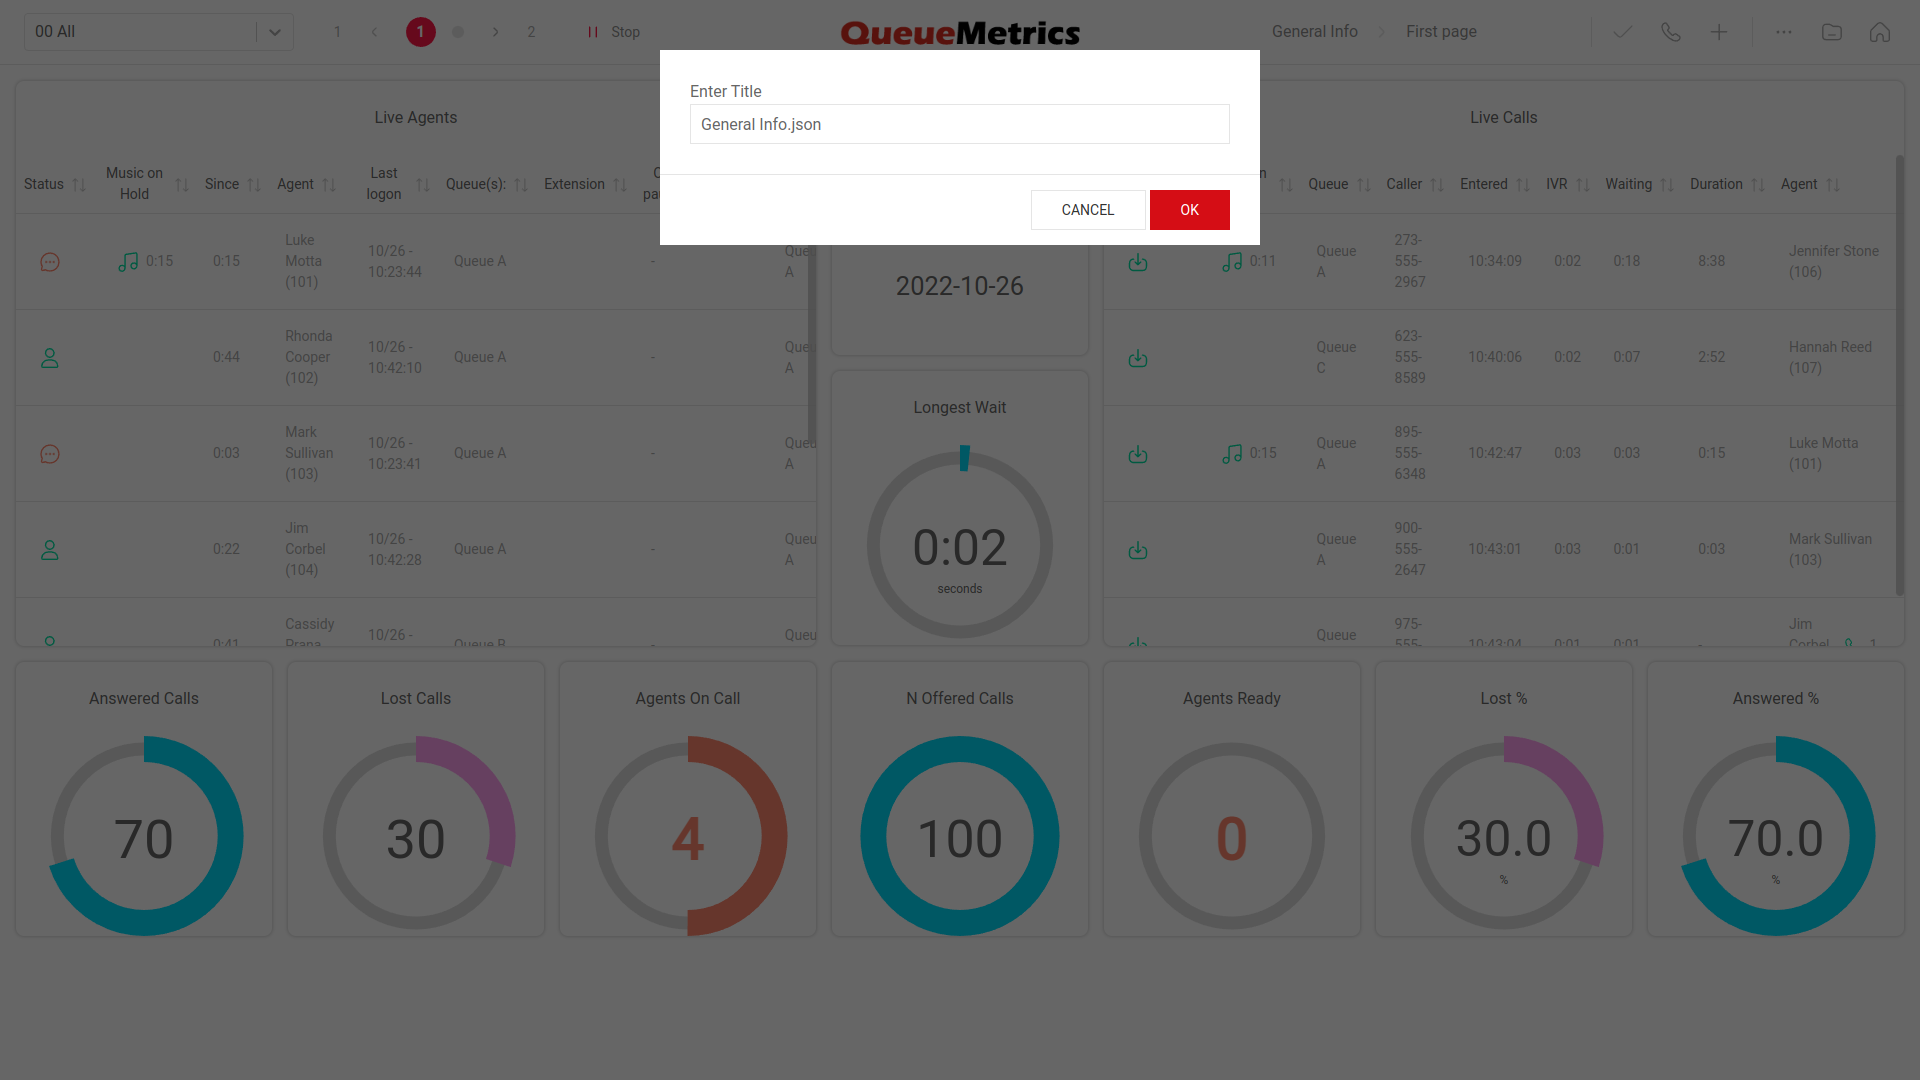
Once you have selected a name, click on "OK". This will export the Wallboard as a JSON file that can be imported by any QueueMetrics system (22.11 or newer).
Importing a Wallboard
To import a Wallboard, move your mouse over the top bar menu as shown in the screenshot, and click on "Import".
This should open the Wallboard Import panel, where you can drag a JSON Wallboard file. You can also click on the drop zone to open your system’s file explorer and pick a file from there.
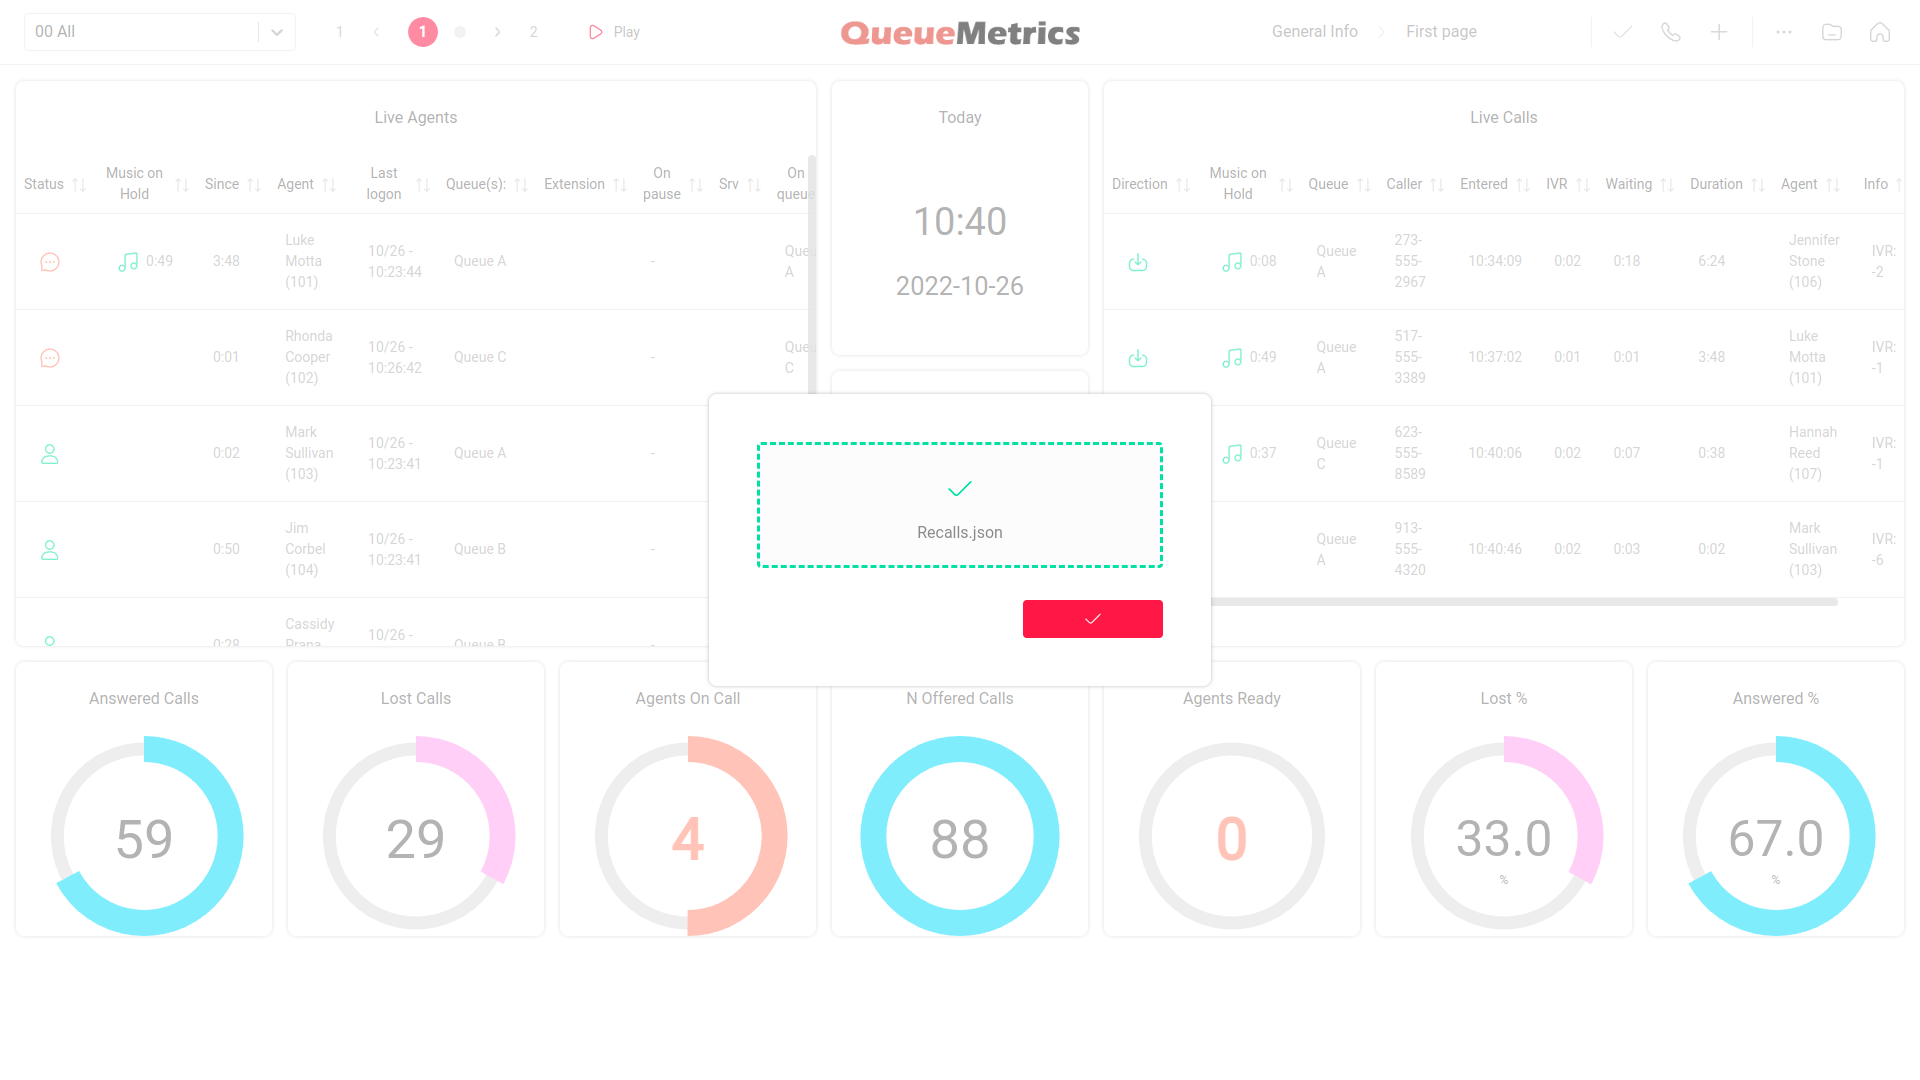
Once you have selected the file, click on the confirm button in the bottom right. If the imported file is a valid QueueMetrics Wallboard, it will be saved on your system and loaded immediately.
| if the wallboard contains some custom DataBlocks that are not present on the importing QueueMetrics instance, QueueMetrics is going to follow this process for each one: |
A) Look for a Custom DataBlock with the same ID. If it exists, go to step B. If not, go to step C. B) Checks if the existing DataBlock is the same as the one from the other system If so, it keeps it, if not, go to step C. C) Creates a new DataBlock with the same properties as the one on the old system. If the ID is already in use, it creates a new one.
Wallboard sotfphone
Since QueueMetrics 19.04.1, the wallboard offers an integrated WebRTC softphone
To enable the wallboard softphone for a user, the user needs to be able to see the wallboard, and needs to hold the WALLBOARD_PHONE security key.
This softphone is configurable through the Edit system parameters page, the "Explore system parameters page" and the Softphone setting panel inside the wallboard. The configuration in the system parameters will be used as default values, while the settings in the Softphone settings panel will take priority and will be saved as user preferences, persisting between different sessions as they are linked to the user. This means that the settings should be changed in the wallboard Softphone settings panel whenever needed, unless you intend to set a new default for all users using the wallboard softphone.
The wallboard Softphone settings panel is available through the "cog" icon in the top bar.
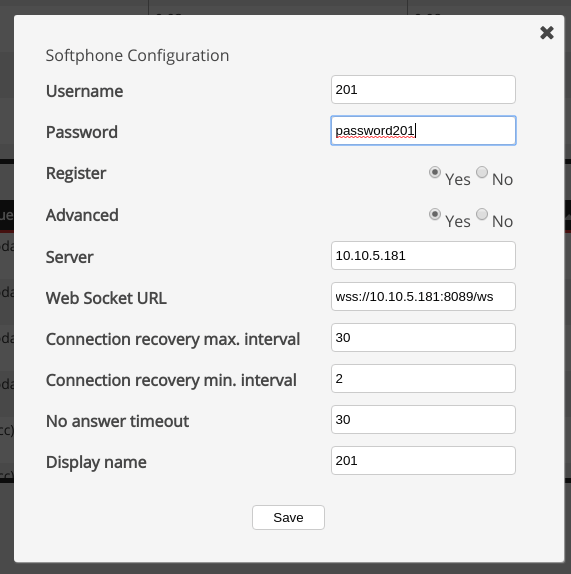
The available settings are the following:
-
Username: the SIP username for the extension
-
Password: the SIP password fot the user
-
Register: if the phone should attempt registering to the PBX. the default value is "yes", and the phone will not register unless set to yes
-
Server: the PBX server address
-
Web Socket URL: the web socket url fot the phone to use when registering and sending data
-
Connection recovery max. interval: the maximum interval to attempt a connection recovery
-
Connection recovery min. interval: the minimum interval to attempt a connection recovery
-
No answer timeout: after how much time an unanswered call is to be hangup
-
Display name: the name that will be displayed when called by this extension
System parameters
The same settings can be set as system parameters in the Edit System parameters page. These values will count as default values for all users.
default.wallboardphone.connection_recovery_max_interval=30
default.wallboardphone.connection_recovery_min_interval=2
default.wallboardphone.display_name=200
default.wallboardphone.no_answer_timeout=60
default.wallboardphone.password=password200
default.wallboardphone.username=200
default.wallboardphone.server=10.10.5.181
default.wallboardphone.websocketurl=wss://10.10.5.181:8089/ws
| An additional property is present here, that can only be set here to maintain coherency throughout the whole system. This property is the following |
default.wallboardphone.iceservers=stun:stun01.sipphone.com|stun:stun01.sipphone.com|stun:stun.fwdnet.net
This setting is needed to specifiy eventual STUN or TURN servers you might want to use.
The Sofphone Panel
To open the actual Softphone panel, you need to click on the "Phone" icon in the top bar.
By opening the softphone panel, the phone will attempt to register to the PBX, unless already registered previously.
When the softphone is registered it will show the softphone panel.
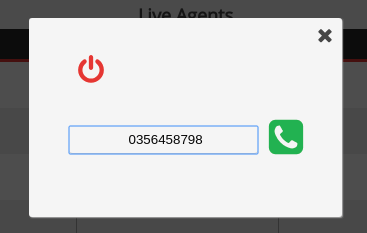
Here you can dial the number you wish to call and then click on the call button to initiate the call.
Component Details
Here is an overview of the components currently available in Queuemetrics' Wallboard.
Circular Panels
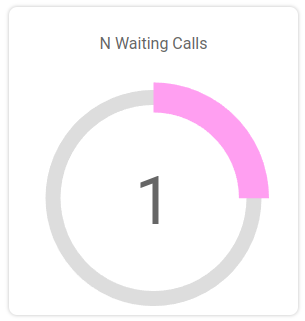
PC01 - Waiting Calls
This Component diplays how many calls are currently waiting to be answered.
The following properties can be modified:
-
Title: The title of the component
-
Color: The color of the stroke
-
Red alarm: The expression used to trigger a red alarm (eg. >20)
-
Yellow alarm: The expression used to trigger a yellow alarm (eg. >20)
-
Queue: The queue you want to filter the data for
Available since |
17.06 |
Name |
Waiting calls |
Shortcut code |
PC01 |
Parameters |
- |
See also |
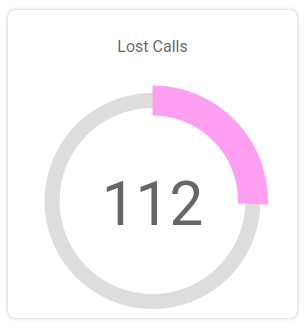
PC02 - Lost Calls
This Component diplays the number of lost calls.
The following properties can be modified:
-
Title: The title of the component
-
Color: The color of the stroke
-
Red alarm: The expression used to trigger a red alarm (eg. >20)
-
Yellow alarm The expression used to trigger a yellow alarm (eg. >20)
-
Queue: The queue you want to filter the data for
Available since |
17.06 |
Name |
Lost calls |
Shortcut code |
PC02 |
Parameters |
- |
See also |
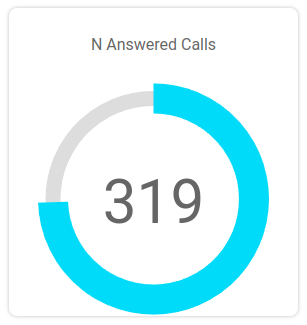
PC03 - Answered Calls
This Component diplays the number of answered calls.
The following properties can be modified:
-
Title: The title of the component
-
Color: The color of the stroke
-
Red alarm: The expression used to trigger a red alarm (eg. >20)
-
Yellow alarm The expression used to trigger a yellow alarm (eg. >20)
-
Queue: The queue you want to filter the data for
Available since |
17.06 |
Name |
Answered calls |
Shortcut code |
PC03 |
Parameters |
- |
See also |
PC04 - Offered Calls
This Component diplays the number of offered calls.
The following properties can be modified:
-
Title: The title of the component
-
Color: The color of the stroke
-
Red alarm: The expression used to trigger a red alarm (eg. >20)
-
Yellow alarm The expression used to trigger a yellow alarm (eg. >20)
-
Queue: The queue you want to filter the data for
Available since |
17.06 |
Name |
Offered calls |
Shortcut code |
PC04 |
Parameters |
- |
See also |
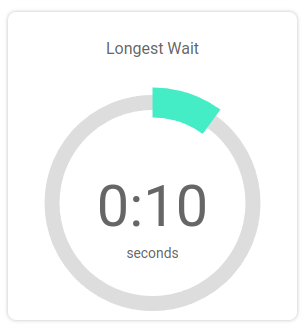
PC05 - Longest Wait
This Component diplays the duration of the longest waiting time currently happening on the selected queues.
The following properties can be modified:
-
Title: The title of the component
-
Color: The color of the stroke
-
Red alarm: The expression used to trigger a red alarm (eg. >20)
-
Yellow alarm The expression used to trigger a yellow alarm (eg. >20)
-
Queue: The queue you want to filter the data for
Available since |
17.06 |
Name |
Longest Wait |
Shortcut code |
PC05 |
Parameters |
- |
See also |
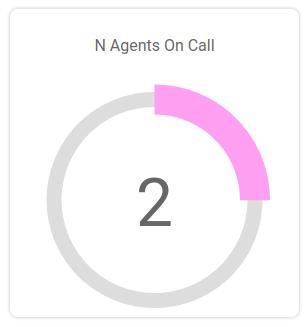
PC06 - Agents On Call
This Component diplays the number of agents on call on the selected queues.
The following properties can be modified:
-
Title: The title of the component
-
Color: The color of the stroke
-
Red alarm: The expression used to trigger a red alarm (eg. >20)
-
Yellow alarm The expression used to trigger a yellow alarm (eg. >20)
-
Queue: The queue you want to filter the data for
Available since |
17.06 |
Name |
Agents On Call |
Shortcut code |
PC06 |
Parameters |
- |
See also |
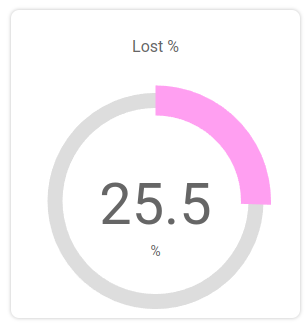
PC07 - Lost Calls %
This Component diplays the percentage of lost calls.
The following properties can be modified:
-
Title: The title of the component
-
Color: The color of the stroke
-
Red alarm: The expression used to trigger a red alarm (eg. >20)
-
Yellow alarm The expression used to trigger a yellow alarm (eg. >20)
-
Queue: The queue you want to filter the data for
Available since |
17.06 |
Name |
Lost Calls % |
Shortcut code |
PC07 |
Parameters |
- |
See also |
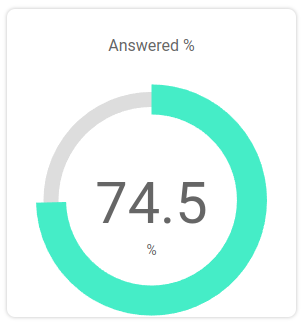
PC08 - Answered Calls %
This Component diplays the percentage of answered calls.
The following properties can be modified:
-
Title: The title of the component
-
Color: The color of the stroke
-
Red alarm: The expression used to trigger a red alarm (eg. >20)
-
Yellow alarm The expression used to trigger a yellow alarm (eg. >20)
-
Queue: The queue you want to filter the data for
Available since |
17.06 |
Name |
Answered Calls % |
Shortcut code |
PC08 |
Parameters |
- |
See also |
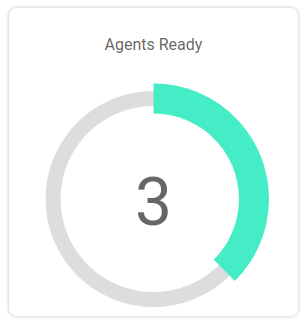
PC09 - Agents Ready
This Component diplays the number of agents ready on the selected queues.
The following properties can be modified:
-
Title: The title of the component
-
Color: The color of the stroke
-
Red alarm: The expression used to trigger a red alarm (eg. >20)
-
Yellow alarm The expression used to trigger a yellow alarm (eg. >20)
-
Queue: The queue you want to filter the data for
Available since |
17.06 |
Name |
Agents Ready |
Shortcut code |
PC09 |
Parameters |
- |
See also |
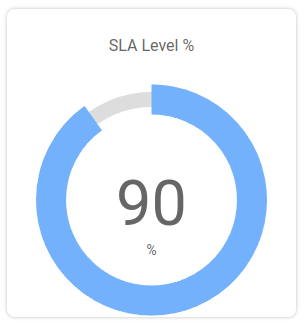
PC10 - SLA Level %
This Component diplays the percentage of calls answered within the selected SLA level.
The following properties can be modified:
-
Title: The title of the component
-
SLA Level: The SLA time interval
-
Color: The color of the stroke
-
Red alarm: The expression used to trigger a red alarm (eg. >20)
-
Yellow alarm The expression used to trigger a yellow alarm (eg. >20)
Available since |
17.06 |
Name |
SLA Level % |
Shortcut code |
PC10 |
Parameters |
- |
See also |
Tables
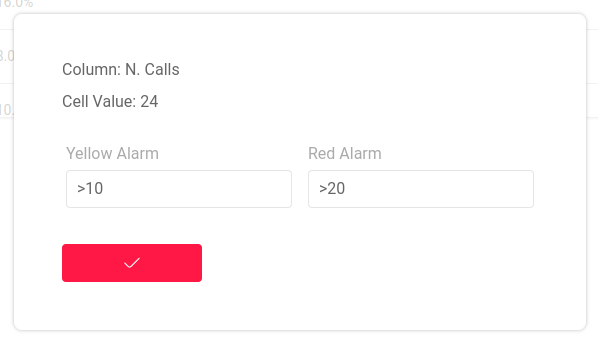
Since QueueMetrics 22.11, table widget alarms can be set by clicking on a table’s cell.
TC01 - Live Agents
This Component diplays a table showing all the agents logged in on the selected queues.
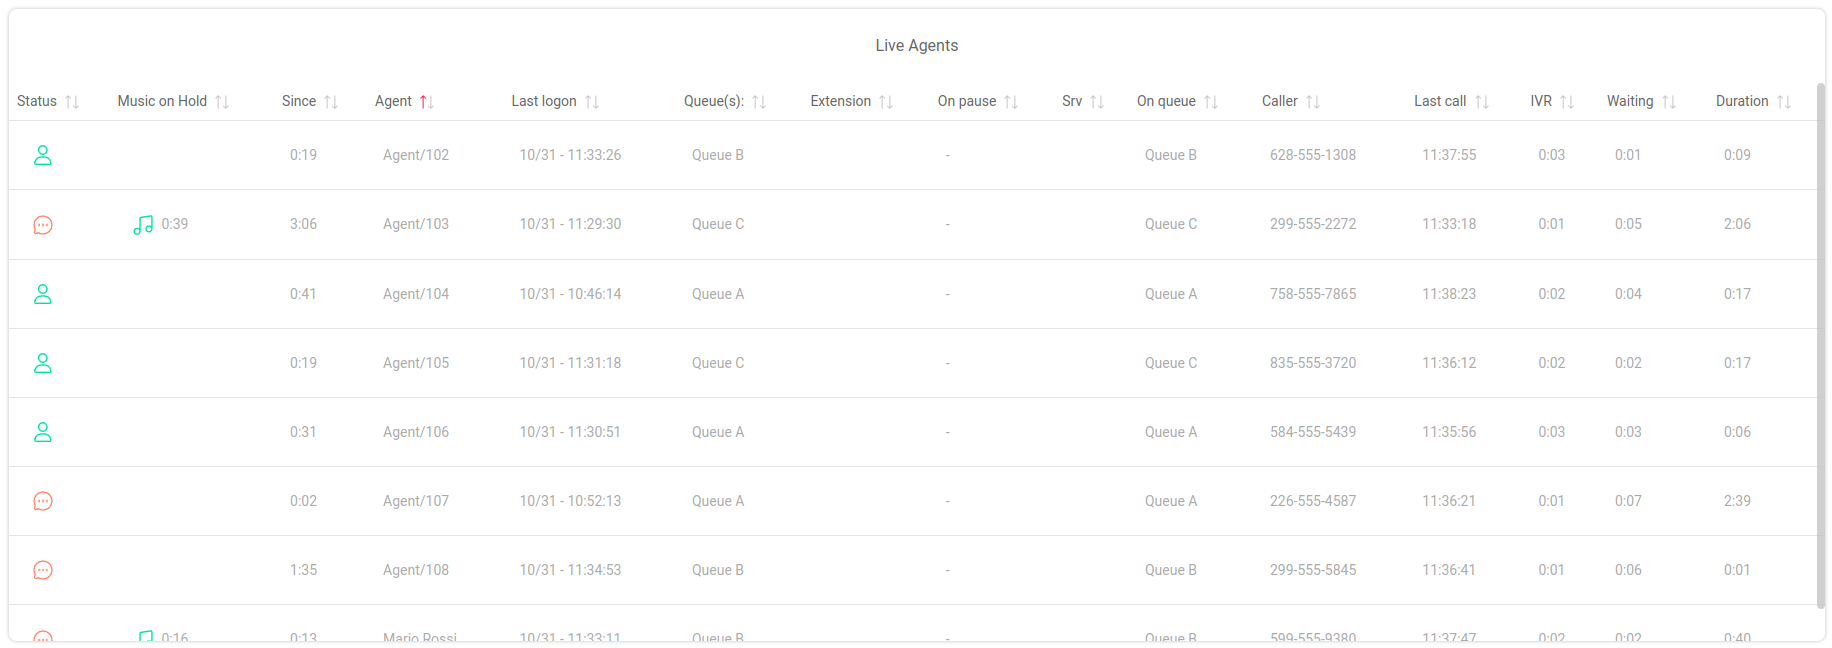
The following properties can be modified:
-
Title: The title of the component
-
Queue: The queue you want to filter the data for
-
Columns: The columns of the table you want to show (Since QueueMetrics 19.04.1)
The table will also be responsive to any Red or Yellow alarm that has been set in the Edit Queues page under the following fields:
-
Call talking duration
Available since |
17.06 |
Name |
Live Agents |
Shortcut code |
TC01 |
Parameters |
- |
See also |
TC02 - Live Calls
This Component diplays a table showing all the calls in progress on the selected queues.
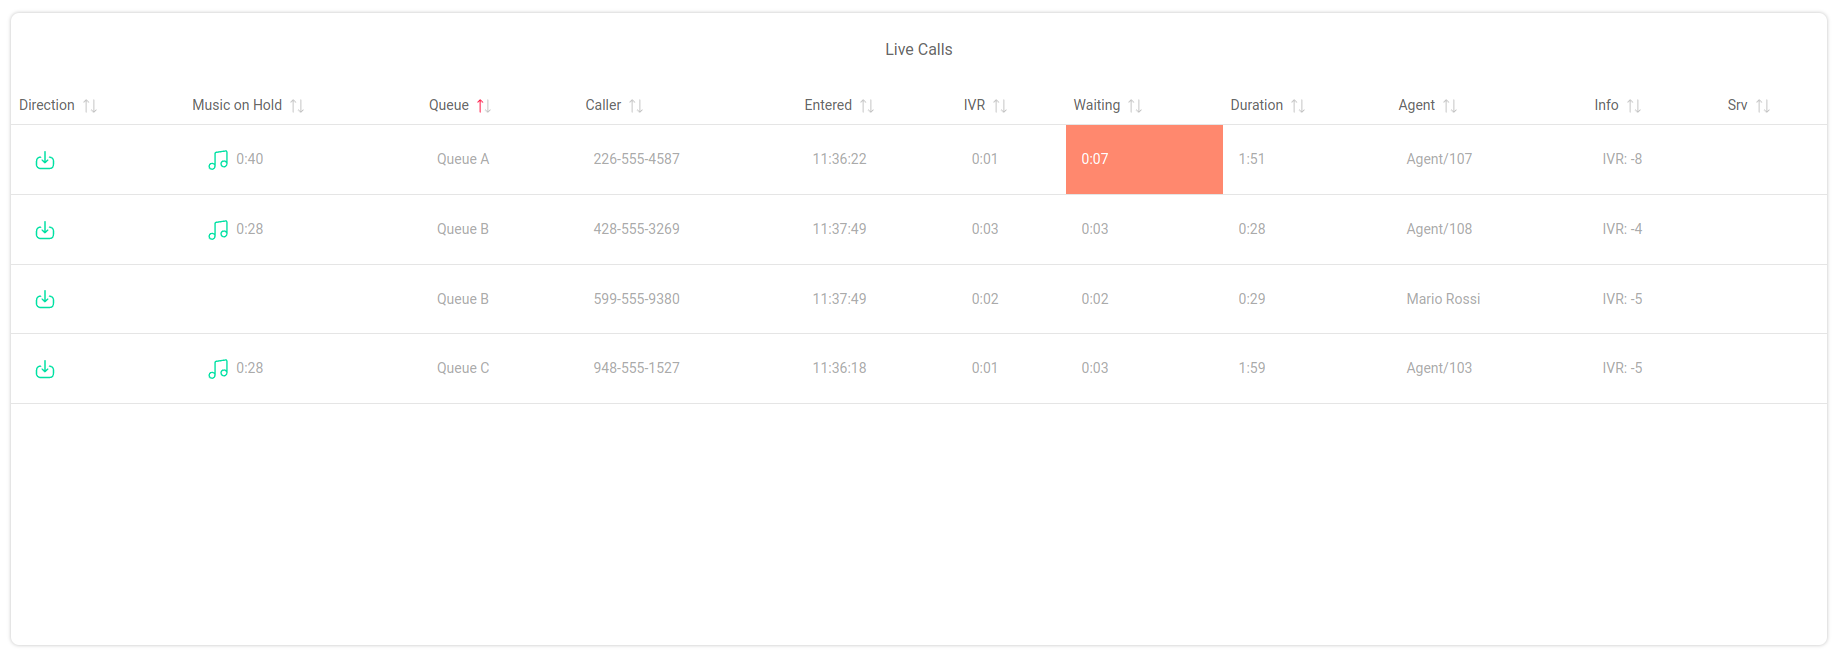
The following properties can be modified:
-
Title: The title of the component
-
Queue: The queue you want to filter the data for
-
Columns: The columns of the table you want to show (Since QueueMetrics 19.04.1)
The table will also be responsive to any Red or Yellow alarm that has been set in the Edit Queues page under the following fields:
-
Call wait duration
-
Call talking duration
Available since |
17.06 |
Name |
Live Calls |
Shortcut code |
TC02 |
Parameters |
- |
See also |
TC03 - Live Queues
This Component diplays a table showing all the selected queues, and their relative information.
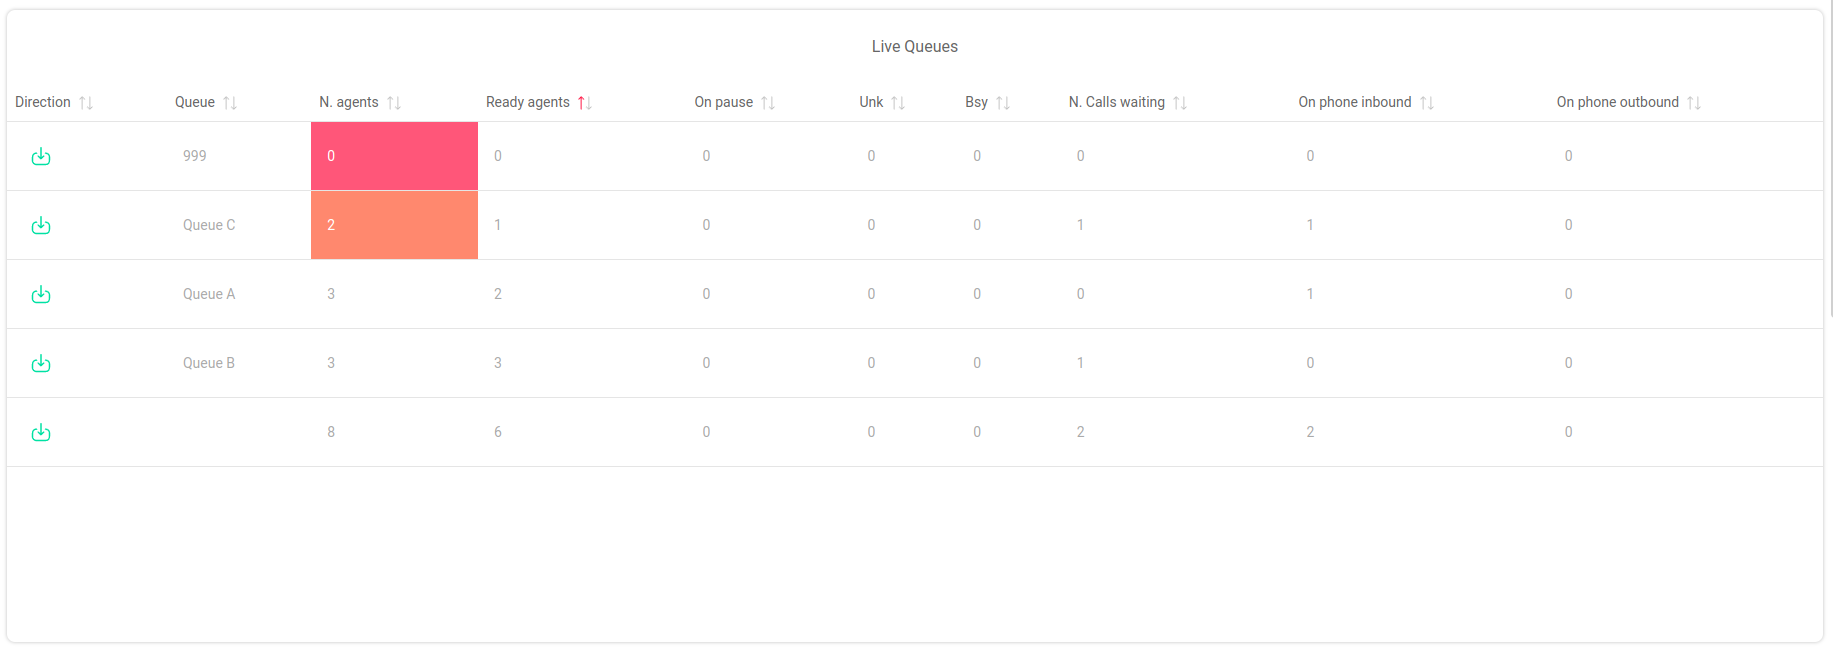
The following properties can be modified:
-
Title: The title of the component
-
Queue: The queue you want to filter the data for
-
Columns: The columns of the table you want to show (Since QueueMetrics 19.04.1)
The table will also be responsive to any Red or Yellow alarm that has been set in the Edit Queues page under the following fields:
-
Number of agents waiting
-
Number of agents paused
-
Number of agents on call
-
Number of calls in queue
Available since |
17.06 |
Name |
Live Queues |
Shortcut code |
TC03 |
Parameters |
- |
See also |
TC04 - Aggregated By Queue
This Component diplays a table showing the aggregate information for the day, grouped by queue.

The following properties can be modified:
-
Title: The title of the component
-
Columns: The columns of the table you want to show (Since QueueMetrics 19.04.1)
Available since |
19.04.1 |
Name |
Aggregated By Queue |
Shortcut code |
TC04 |
Parameters |
- |
See also |
TC05 - Aggregated By Tag
This Component diplays a table showing the aggregate information for the day, grouped by tag.

The following properties can be modified:
-
Title: The title of the component
-
Columns: The columns of the table you want to show (Since QueueMetrics 19.04.1)
Available since |
19.04.1 |
Name |
Aggregated By Tag |
Shortcut code |
TC05 |
Parameters |
- |
See also |
TC06 - Agents and Outcomes
This Component diplays a table showing the aggregate information for the day, regarding the agents and the outcomes of their calls.
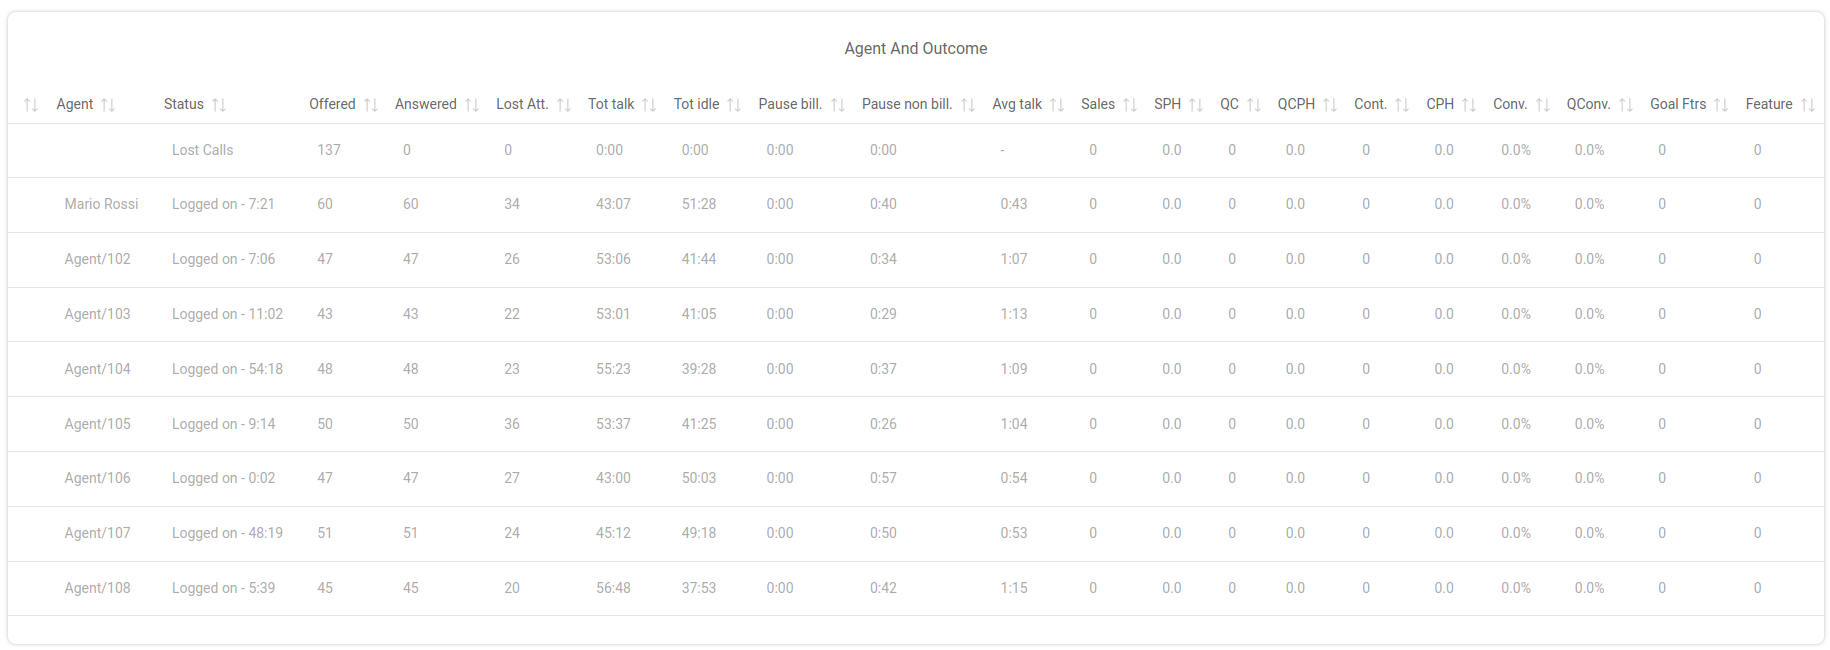
The following properties can be modified:
-
Title: The title of the component
-
Columns: The columns of the table you want to show (Since QueueMetrics 19.04.1)
Available since |
19.04.1 |
Name |
Agents and Outcomes |
Shortcut code |
TC06 |
Parameters |
- |
See also |
Items
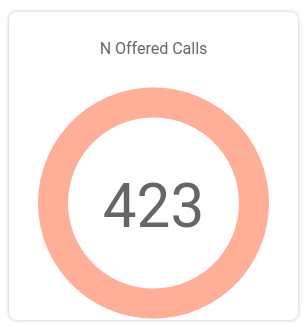
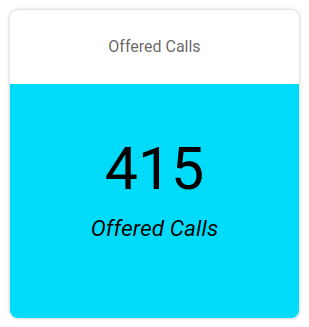
IT01 - N. of Calls Offered
This Component diplays a text item showing the number of calls offered on the selected queues.
The following properties can be modified:
-
Title: The title of the component
-
Red alarm: The expression used to trigger a red alarm on the number of offered calls (eg. >20)
-
Yellow alarm: The expression used to trigger a yellow alarm on the number of offered calls (eg. >20)
-
Color: The color scheme for the background and text.
-
Queue: The queue you want to filter the data for
Available since |
17.06 |
Name |
N. of Calls Offered |
Shortcut code |
IT01 |
Parameters |
- |
See also |
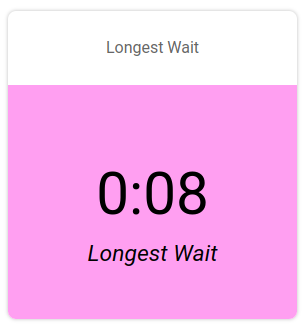
IT02 - Longest Wait
This Component diplays a text item showing the longest wait time among the ongoing calls on the selected queues.
The following properties can be modified:
-
Title: The title of the component
-
Red alarm: The expression used to trigger a red alarm on the longest wait value (eg. >20)
-
Yellow alarm: The expression used to trigger a yellow alarm on the longest wait value (eg. >20)
-
Color: The color scheme for the background and text.
-
Queue: The queue you want to filter the data for
Available since |
17.06 |
Name |
Longest Wait |
Shortcut code |
IT02 |
Parameters |
- |
See also |
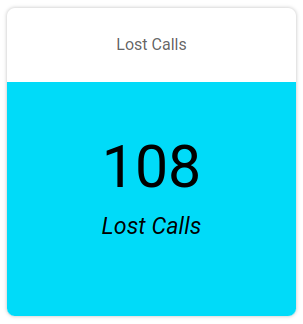
IT03 - N. of Calls Lost
This Component diplays a text item showing the number of calls lost on the selected queues.
The following properties can be modified:
-
Title: The title of the component
-
Red alarm: The expression used to trigger a red alarm on the number of answered calls (eg. >20)
-
Yellow alarm: The expression used to trigger a yellow alarm on the number of answered calls (eg. >20)
-
Color: The color scheme for the background and text.
-
Queue: The queue you want to filter the data for
Available since |
17.06 |
Name |
N of Calls Lost |
Shortcut code |
IT03 |
Parameters |
- |
See also |
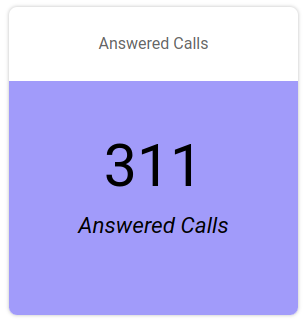
IT04 - N. of Calls Answered
This Component diplays a text item showing the number of calls answered on the selected queues.
The following properties can be modified:
-
Title: The title of the component
-
Red alarm: The expression used to trigger a red alarm on the number of answered calls (eg. >20)
-
Yellow alarm: The expression used to trigger a yellow alarm on the number of answered calls (eg. >20)
-
Color: The color scheme for the background and text.
-
Queue: The queue you want to filter the data for
Available since |
17.06 |
Name |
N of Calls Answered |
Shortcut code |
IT04 |
Parameters |
- |
See also |
Composite Items
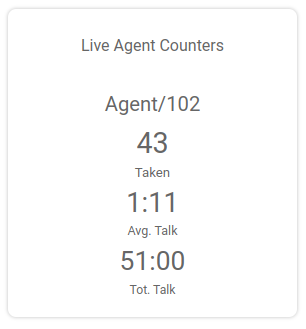
MI01 - Live Agents Counters
This Component is composed of three sections, each detailing a different information about an agent.
-
The Taken calls is shown in the uppermost part of the component.
-
The middle part of the component shows the average talk time value for the selected agent.
-
The bottom part of the component will show the Total talk time for the selected agent.
The following properties can be modified:
-
Title: The title of the component
-
Taken Red alarm: The expression used to trigger a red alarm on the number of taken calls (eg. >20)
-
Taken Yellow alarm: The expression used to trigger a yellow alarm on the number of taken calls (eg. >20)
-
Avg. Talk Red Alarm *: The expression used to trigger a *red alarm on the average talk time (eg. >20)
-
Avg. Talk Yellow Alarm *: The expression used to trigger a *yellow alarm on the average talk time (eg. >20)
-
Tot. Talk Red Alarm *: The expression used to trigger a *red alarm on the total talk time (eg. >20)
-
Tot. Talk Yellow Alarm *: The expression used to trigger a *yellow alarm on the total talk time (eg. >20)
Available since |
19.04.1 |
Name |
Liva Agents Counter |
Shortcut code |
MI01 |
Parameters |
- |
See also |
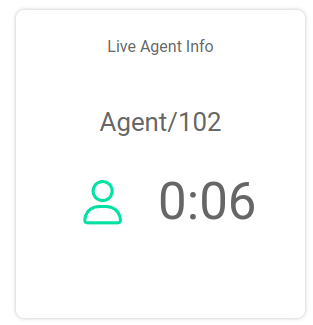
MI02 - Live Agent Info
This Component is composed of three sections, each detailing a different information about an agent.
-
The agent’s name is shown in the uppermost part of the component.
-
The agent’s state is shown in the middle part of the component. To represent the agent’s status there are different status badges. To read a description of the status you can hover on the status badge. Together with the status badge you will see a time counter, detailing how long the agent has been in that particular state.
-
The bottom part of the component will show the name of the queue the agent is receiving a call from, if the agent is in a BUSY status. If the agent is on PAUSE, the pause name will be shown.
The following properties can be modified:
-
Title: The title of the component
-
Pause Red alarm: The expression used to trigger a red alarm on the pause time of an agent (eg. >20)
-
Pause Yellow alarm: The expression used to trigger a yellow alarm on the pause time of an agent (eg. >20)
-
Call Red alarm: The expression used to trigger a red alarm on the call time of an agent (eg. >20)
-
Call Yellow alarm: The expression used to trigger a yellow alarm on the call time of an agent (eg. >20)
-
Idle Red alarm: The expression used to trigger a red alarm on the idle time of an agent (eg. >20)
-
Idle Yellow alarm: The expression used to trigger a yellow alarm on the idle time of an agent (eg. >20)
Available since |
17.06 |
Name |
Live Agent Info |
Shortcut code |
MI02 |
Parameters |
- |
See also |
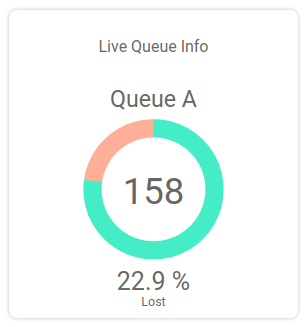
MI03 - Live Queue Info
This Component is composed of three sections, each detailing a different information about a queue.
-
The queue’s name is shown in the uppermost part of the component.
-
The middle part of the component is comprised of a circular panel detailing the number of answered calls on the selected queue.
-
The bottom part of the component will show the percentage of lost calls on the selected queue.
The following properties can be modified:
-
Title: The title of the component
-
Red alarm: The expression used to trigger a red alarm on the number of answered calls (eg. >20)
-
Yellow alarm: The expression used to trigger a yellow alarm on the number of answered calls (eg. >20)
-
Color: The color of the circular panel’s stroke.
-
Secondary Color: The secondary color for the circular panel’s stroke.
Available since |
17.06 |
Name |
Live Queue Info |
Shortcut code |
MI03 |
Parameters |
- |
See also |
MI04 - Average Queue Info
This Component is composed of three sections, each detailing a different information about a queue.
-
The queue’s name is shown in the uppermost part of the component.
-
The middle part of the component shows the average talk value for the selected queue.
-
The bottom part of the component will show the average wait time for a call on the selected queue.

The following properties can be modified:
-
Title: The title of the component
-
Talk Red alarm: The expression used to trigger a red alarm on the average talk time (eg. >20)
-
Talk Yellow alarm: The expression used to trigger a yellow alarm on the average talk time (eg. >20)
-
Wait Red alarm: The expression used to trigger a red alarm on the average wait time (eg. >20)
-
Wait Yellow alarm: The expression used to trigger a yellow alarm on the average wait time (eg. >20)
-
Color: The color of the circular panel’s stroke.
-
Secondary Color: The secondary color for the circular panel’s stroke.
Available since |
17.06 |
Name |
Average Queue Info |
Shortcut code |
MI04 |
Parameters |
- |
See also |
Charts
BC01 - Bar Graph SLA
This Component is a Bar Chart detailing the calls fulfilling of the setted SLA answering time requirements.
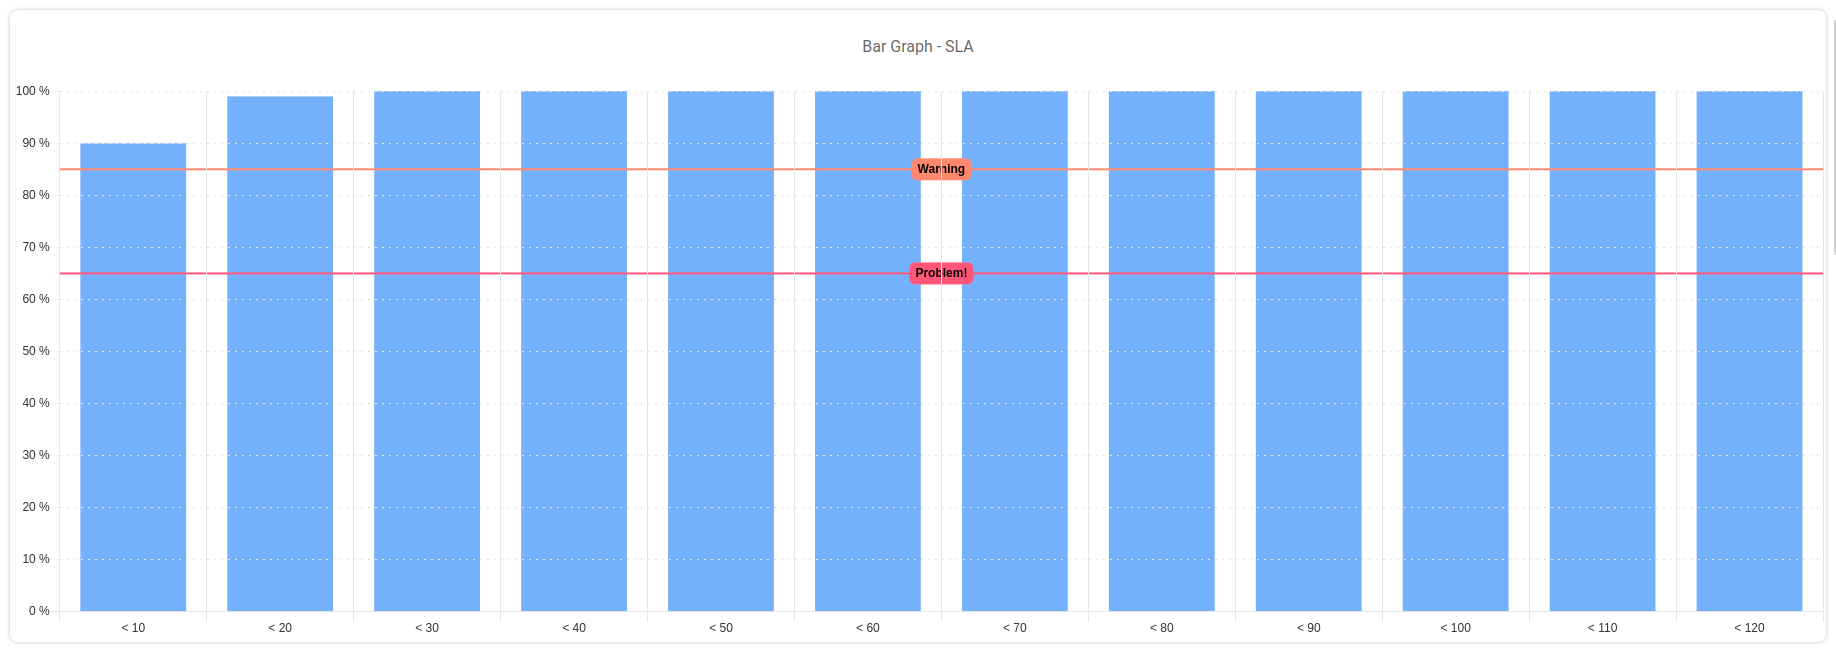
The following properties can be modified:
-
Title: The title of the component
-
Color: The color of the circular panel’s stroke.
-
Yellow Line Limit: A numerical value between 0-100 that set’s the Y coordinates for a yellow limit line.
-
Red Line Limit: A numerical value between 0-100 that set’s the Y coordinates for a red limit line.
Available since |
17.06 |
Name |
Bar Graph SLA |
Shortcut code |
BC01 |
Parameters |
- |
See also |
Other
CL01 - Clock
This Component is a Clock component showing the current Date and Time.
The following properties can be modified:
-
Title: The title of the component
Available since |
17.06 |
Name |
Clock |
Shortcut code |
CL01 |
Parameters |
- |
See also |
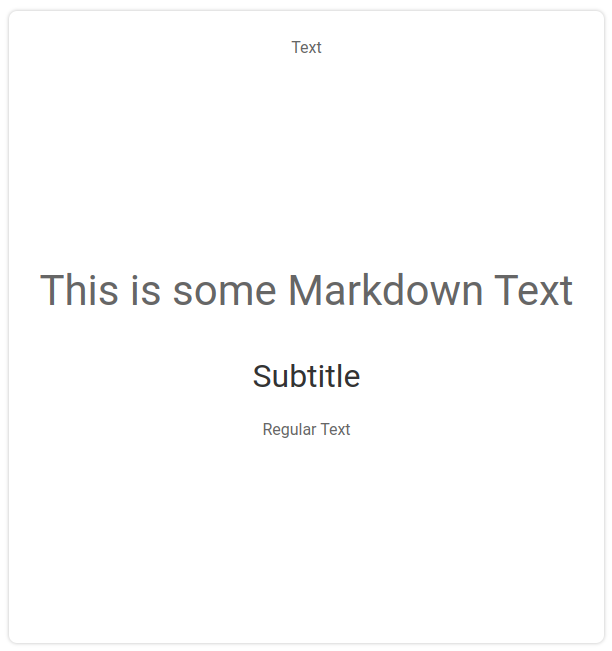
TX01 - Text
This Component is a Text component showing a string of text. The string of text can be formatted in MD markup format, allowing the user to display images, gifs and links.
The following properties can be modified:
-
Title: The title of the component
-
Text: The text to display
Available since |
17.06 |
Name |
Text |
Shortcut code |
TX01 |
Parameters |
- |
See also |
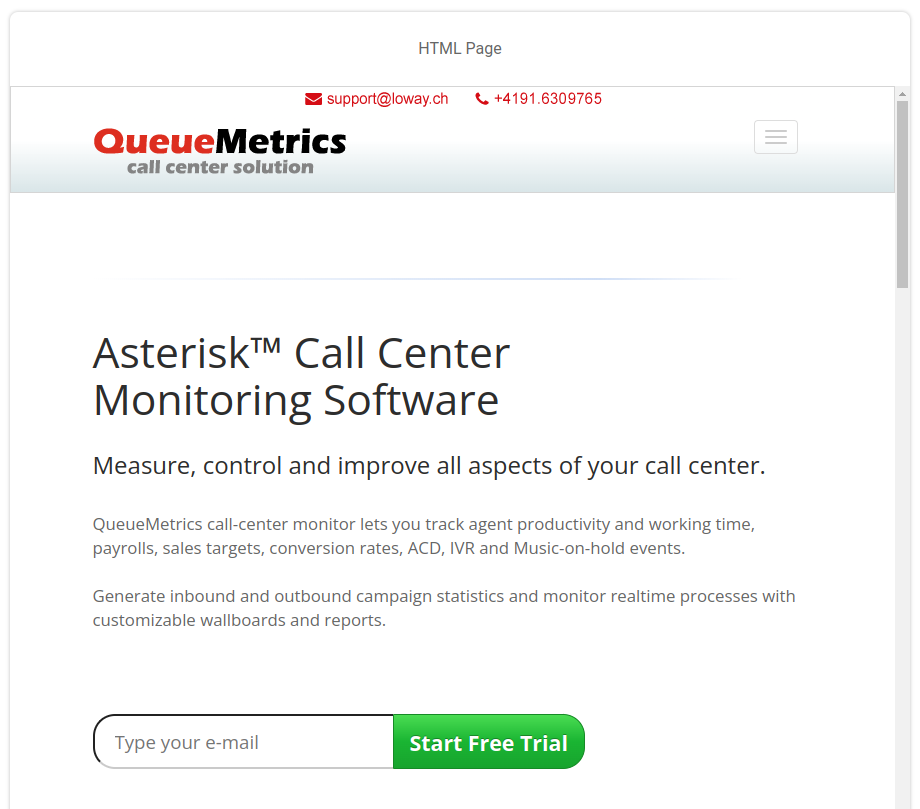
HTML01 - HTML
This Component is an Iframe component showing any Web page that allows Iframes to display it. This widget requires the user to configure it by inputting a valid URL or it won’t show anything.
The following properties can be modified:
-
Title: The title of the component
-
URL: The URL of the web page to display
Available since |
22.11 |
Name |
Text |
Shortcut code |
HTML01 |
Parameters |
- |
See also |
DB01 - DataBlock Table
This component shows any DataBlock table available in QueueMetrics. It requires the user to select a valid DataBlock by configuring it, or it will show nothing.

The following properties can be modified:
-
Title: The title of the component
-
DataBlock: The Source DataBlock
-
Columns: The columns of the table that will be shown
Available since |
22.11 |
Name |
Text |
Shortcut code |
DB01 |
Parameters |
- |
See also |
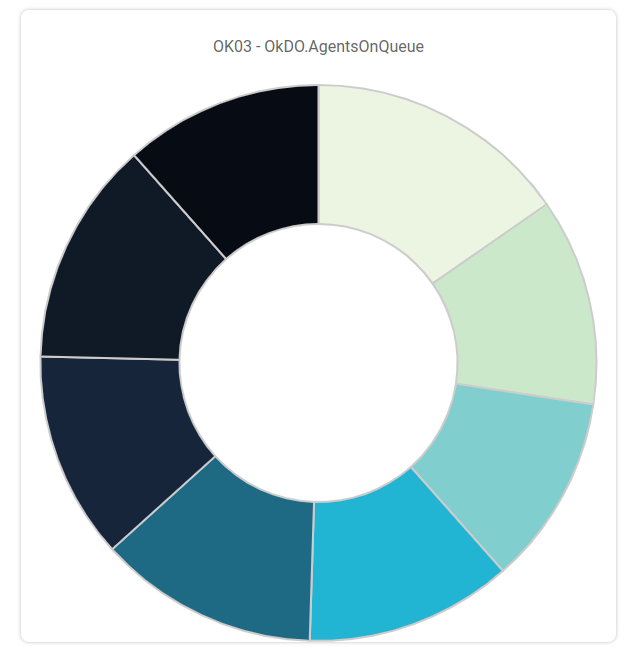
DB02 - DataBlock Chart
This component shows any DataBlock char tavailable in QueueMetrics. It requires the user to select a valid DataBlock by configuring it, or it will show nothing.
The following properties can be modified:
-
Title: The title of the component
-
DataBlock: The Source DataBlock
Available since |
22.11 |
Name |
Text |
Shortcut code |
DB02 |
Parameters |
- |
See also |