Logging on to QueueMetrics
To log on to QueueMetrics, you have to point your browser to the address of the server where you installed QM. As servlet containers are often installed on ports different than the standard HTTP one, it might be necessary to specify the port address.
For example, if you install Tomcat 6 on the same server you’re accessing QM from, you may end up pointing your browser to: http://localhost:8080/queuemetrics.
Ask your system administrator for the correct web address of your instance of QueueMetrics.
If all goes well, you will see a page like the following one:
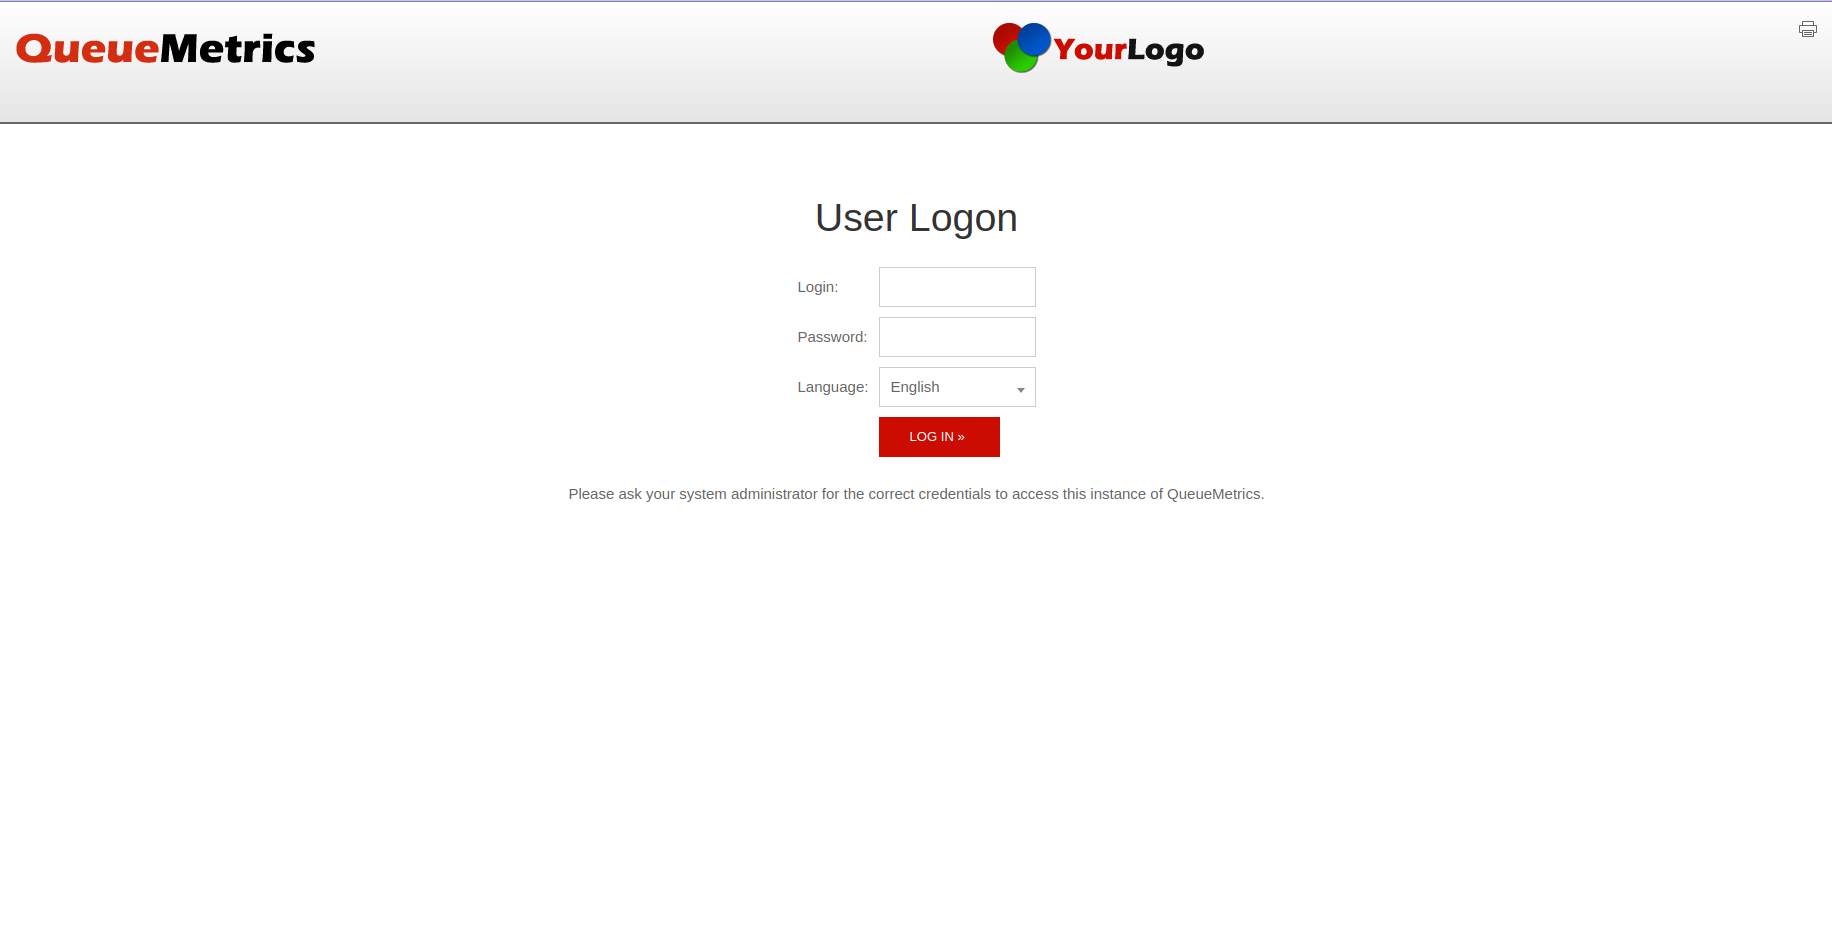
This and the following screenshots are taken using Chrome 85 on Ubuntu; other environments may present minor discrepancies from what is shown here.
If your system administrator has already configured QM, you might see you firm’s logo on the top left part of the screen and a different welcome message.
To enter the system as a user, enter the standard credentials demouser with password demo and click on the "Log in" button, or use the credentials your administrator has provided.
If you prefer to use a different language from the default English, you can choose one of the other supported languages from the drop-down box. After choosing the language, the main page will be reloaded.
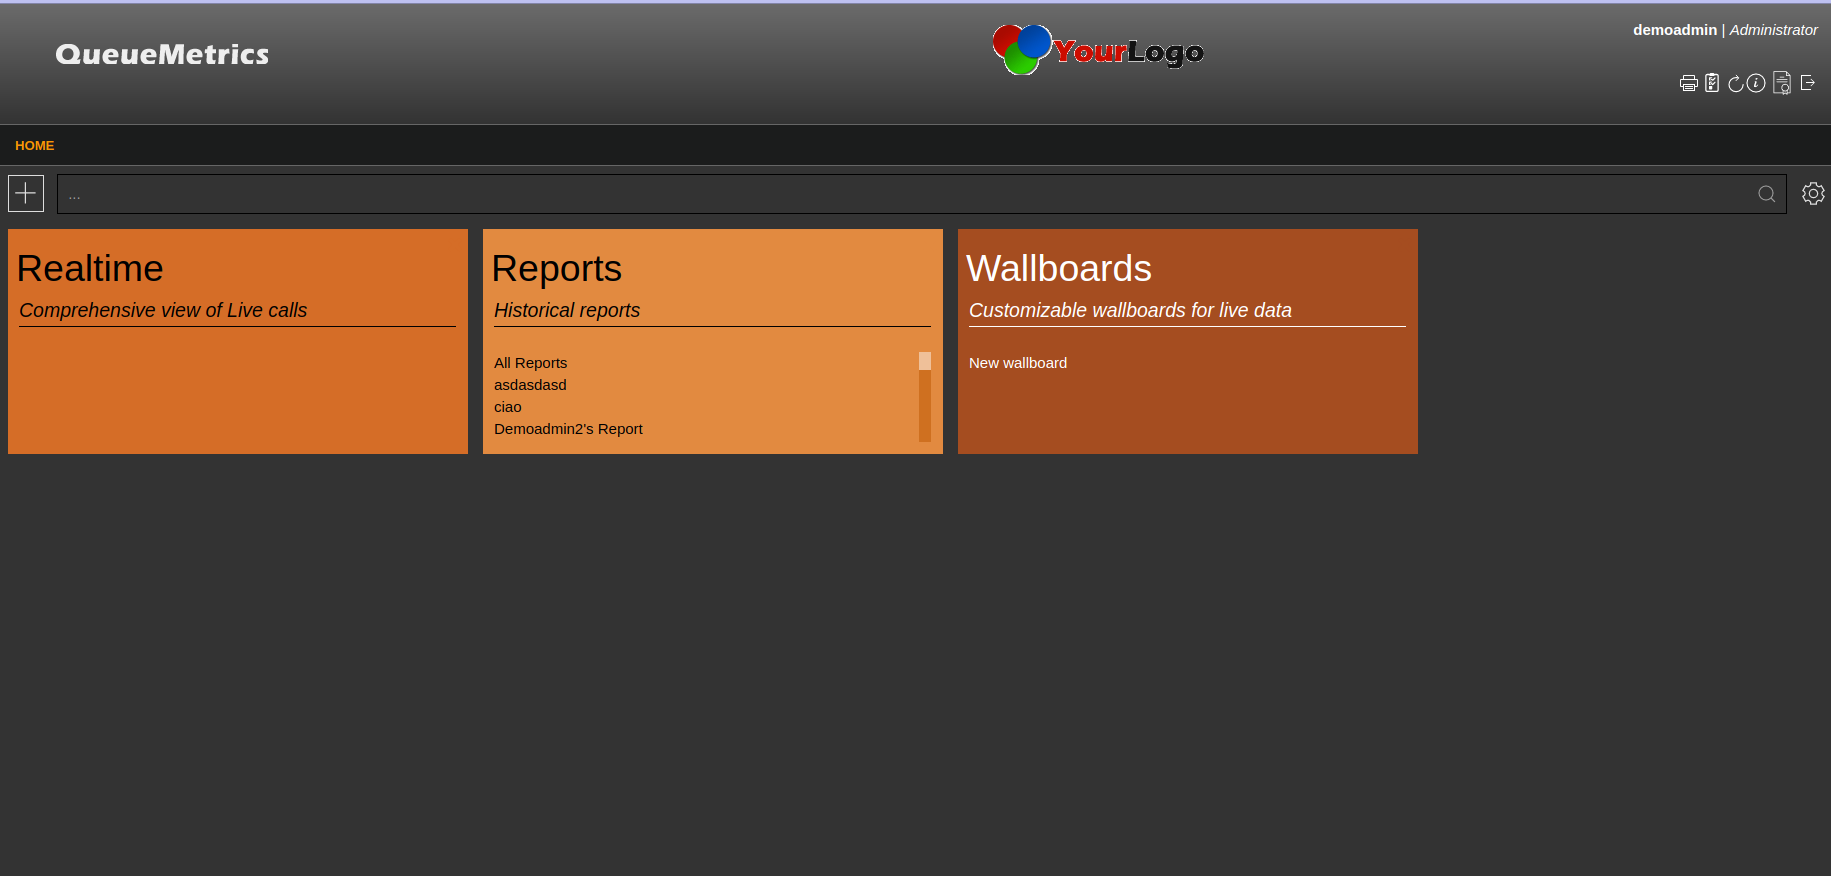
InfoBoxes
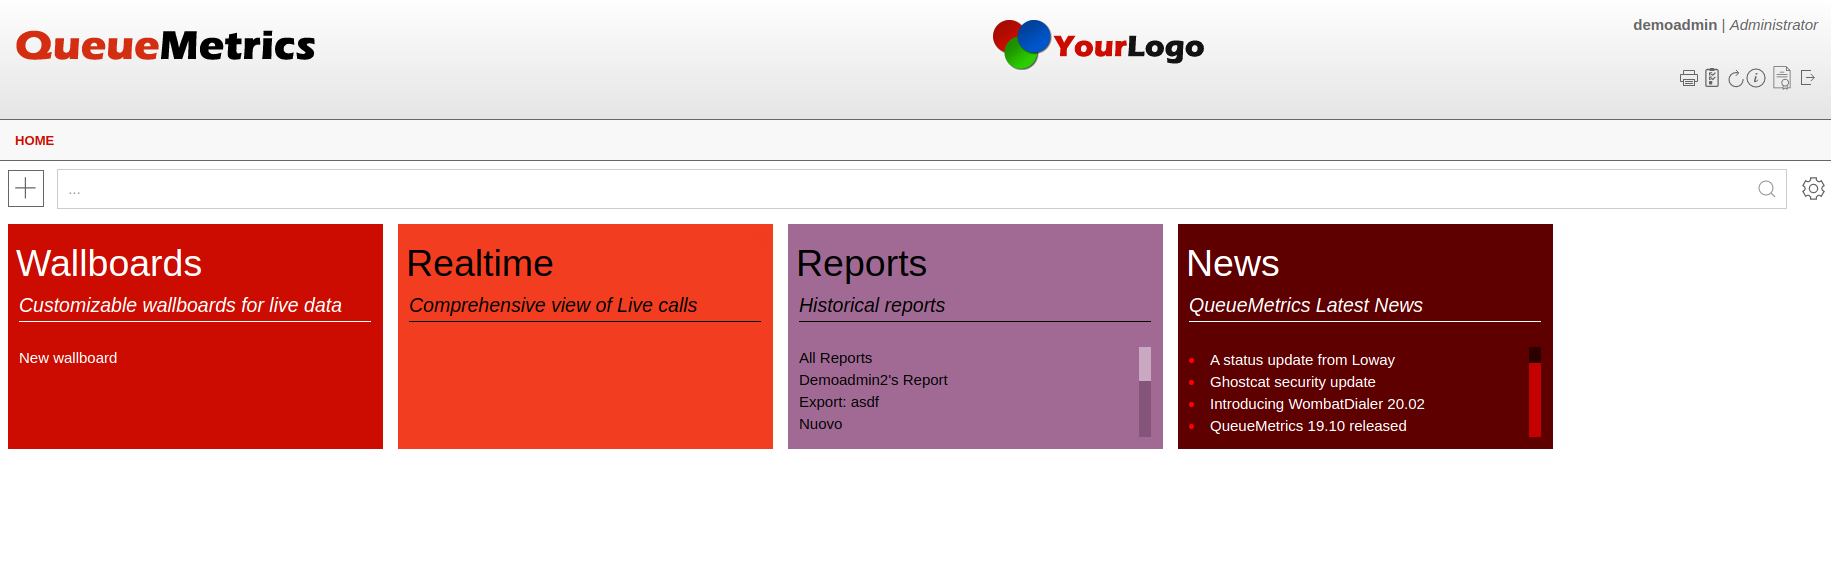
The center part of the Home Page, is composed of multiple square boxes that are called "InfoBoxes".
Each InfoBox represents an integral feature of QueueMetrics, and allows you to navigate to it, by clicking anywhere inside the InfoBox.
Clicking on the cross icon on the top right of an InfoBox, will remove it from the HomePage, while clicking on the Plus icon located at the top left of the HomePage will Open the InfoBox selector, where a user can add or remove the InfoBoxes based on their personal preference.
Some InfoBoxes, such as the "Reports" InfoBox, or the "Wallboards" InfoBox, present built-in quick links, that will direct the user to specific reports, or wallboards that the User may have access to.
| Clicking on the "Reports" InfoBox will open a new Unsaved Report. This report can be edited freely, but needs to be saved to persist on the system, by clicking on the "Save" Icon after making changes. If an Unsaved Report is not saved, it will be lost forever. |
InfoBox Selector
Depending on the user’s credentials and security keys, different InfoBoxes will be available to be added to the Home Page.
To see the list of all the InfoBoxes available to the user, click on the plus icon on the top left.
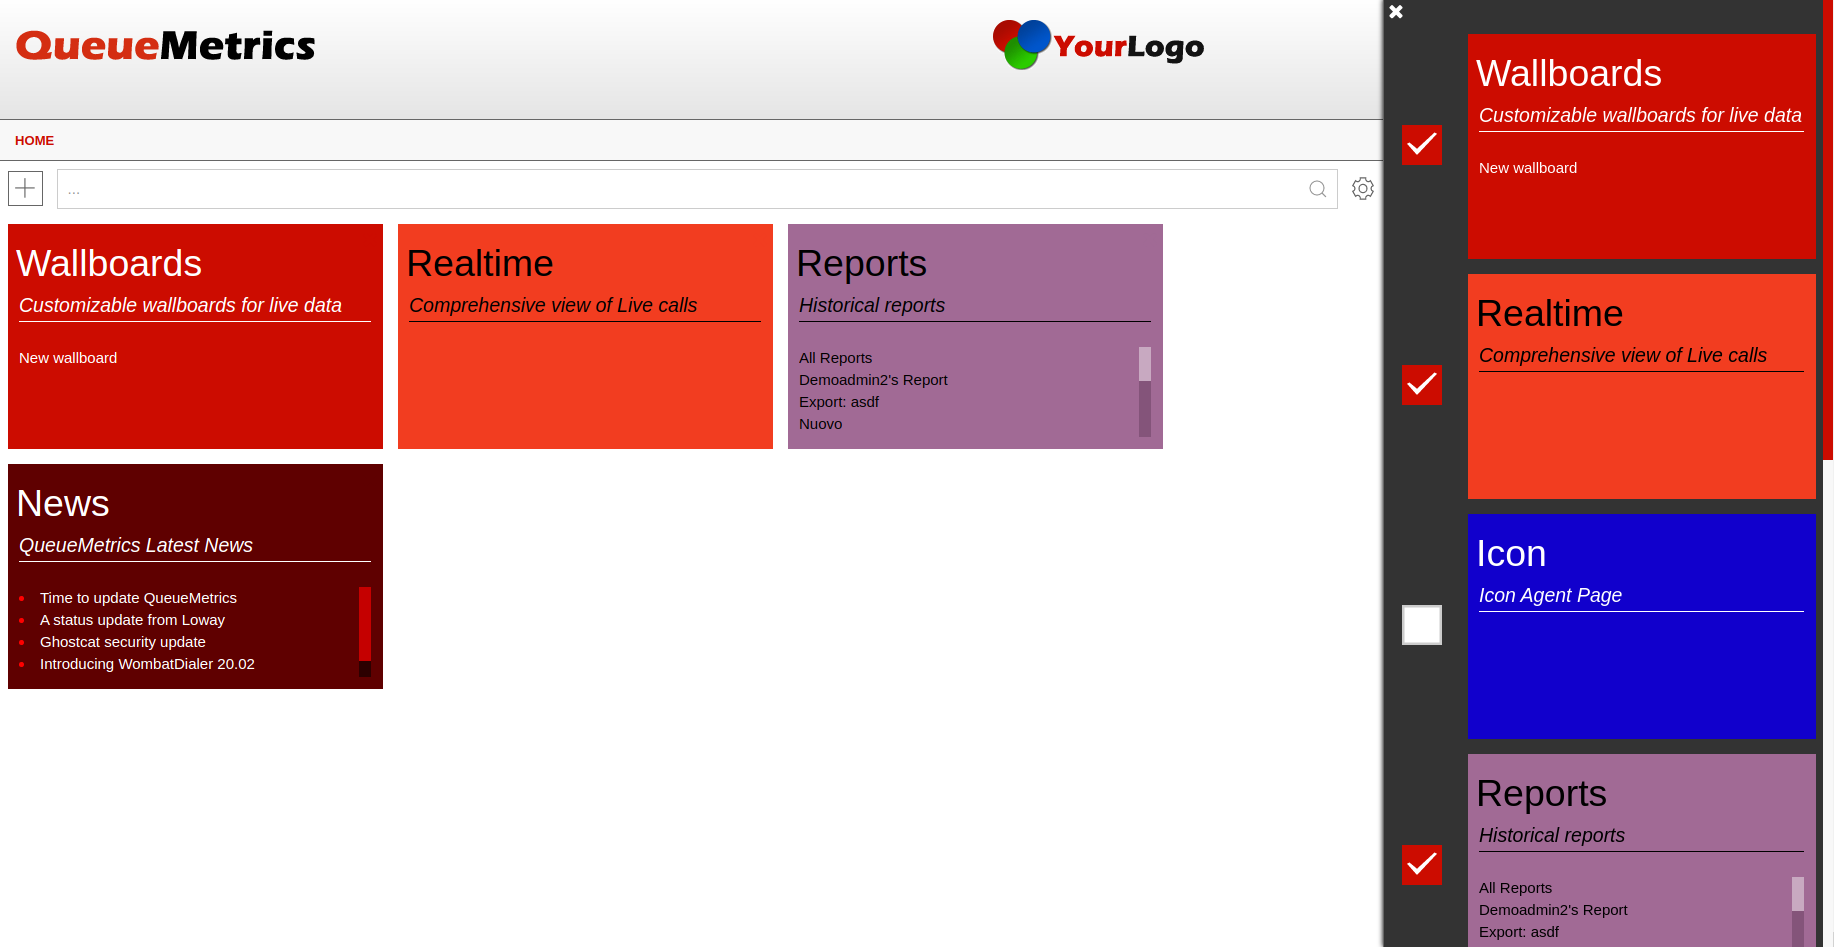
From this side menu, the user can add or remove InfoBoxes to the HomePage, or make use of the InfoBoxes directly without adding them to the Home Page.
InfoBox settings are persistent, so when the user logs in next time they will find the same InfoBoxes that were set last time the user accessed the system.
To close the InfoBox Selector, just click outside of the side bar, or close the side bar by clicking on the cross icon on upper left.
Administration Menu
To access QueueMetrics Configuration Editors, System Administration features and System Diagnostics features, the user can click on the Gear Icon at the top right of the screen.
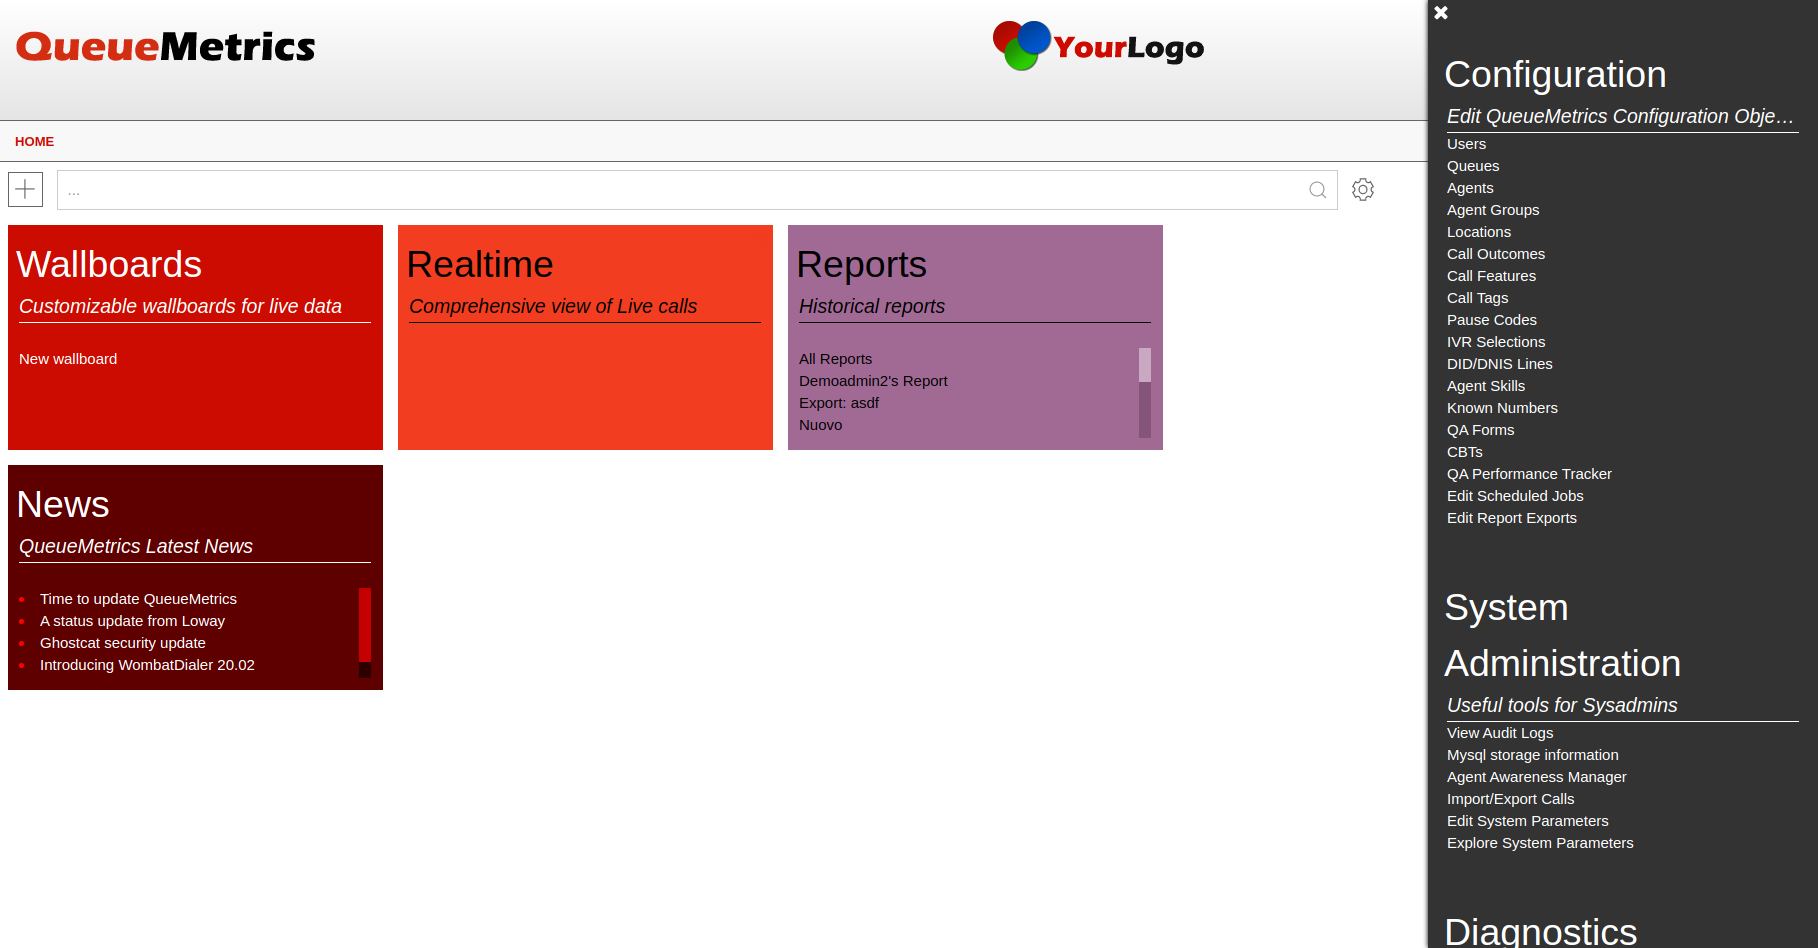
This will open the Administration Menu, which will display links to all the relevant features, that the user has access to.
| All the configuration editors fall under this menu, so if the user is looking to create Queues, Agents, Pause Codes or any other kind of QueueMetrics Configuration Object, they will find them under this menu, provided they hold the appropriate security keys. |
Search Bar
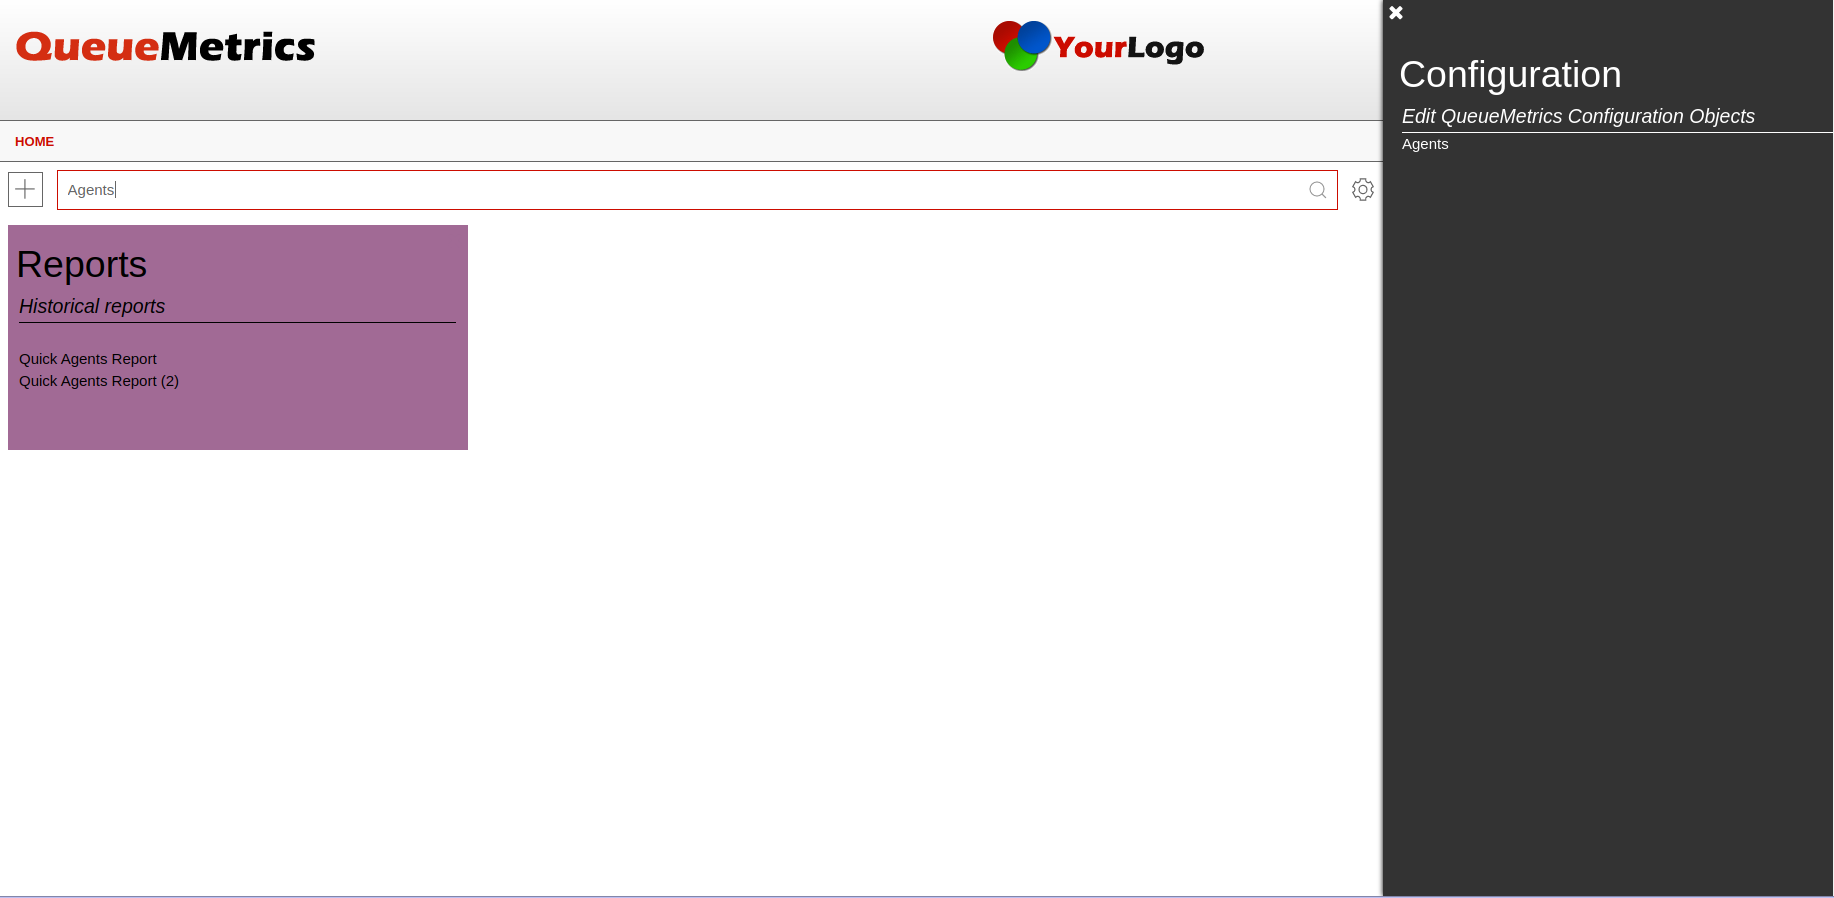
By typing a query in the search bar located at the top of the HomePage, the user can search for specific quick link, or QueueMetrics feature.
The filtering enacted by the search bar is applied to the central grid, the InfoBox Selector and the Administration Menu. The search query is case insensitive.
Header
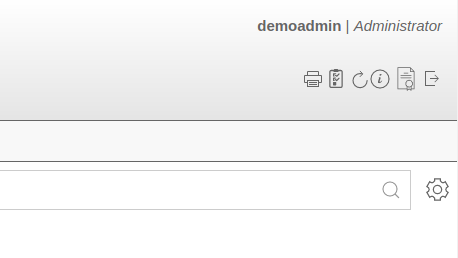
The name of the user and the current class for the user are shown on the top-right corner of the window.
To end the current session, you have to press the "Log off" icon or close the browser window.
To see more details on the current user and change its access password, or the currently selected theme, click on the "Info" icon.
System Administration
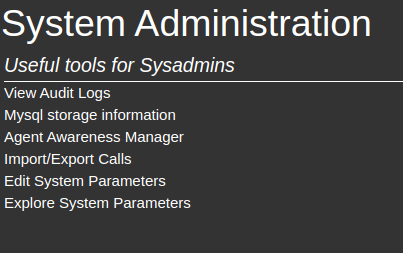
As of QueueMetrics 12.10 it is possible to view the configuration.properties file from the Home page. This is achieved by adding the key EDIT_CFG to the admin user, which will enable two links on the Home page, within the Administration Menu, that will allow access to the file. It is possible to edit it either in unstructured format (as a text file), by clicking on "Edit System Parameters". If you are looking for the most common options, a GUI interface is available as explained in Configuring system preferences , under the "Explore System Parameters".
From this menu, the user can also look at Audit Logs, Mysql storage information, access the Agent Awareness Manager and use the Import/Export calls function.
Diagnostics

From this menu the user, provided he holds the correct security keys, can access the System Diagnostic Tools, which comprise of a Database Inspector, the View Configuration page, A debug page for AMI Commands, A page to check and eventually reset RAM Caching, A tester for AMI connections as well as an SMTP connection tester.
License information
Pressing the "Licence information" label, a page like the one below is shown.
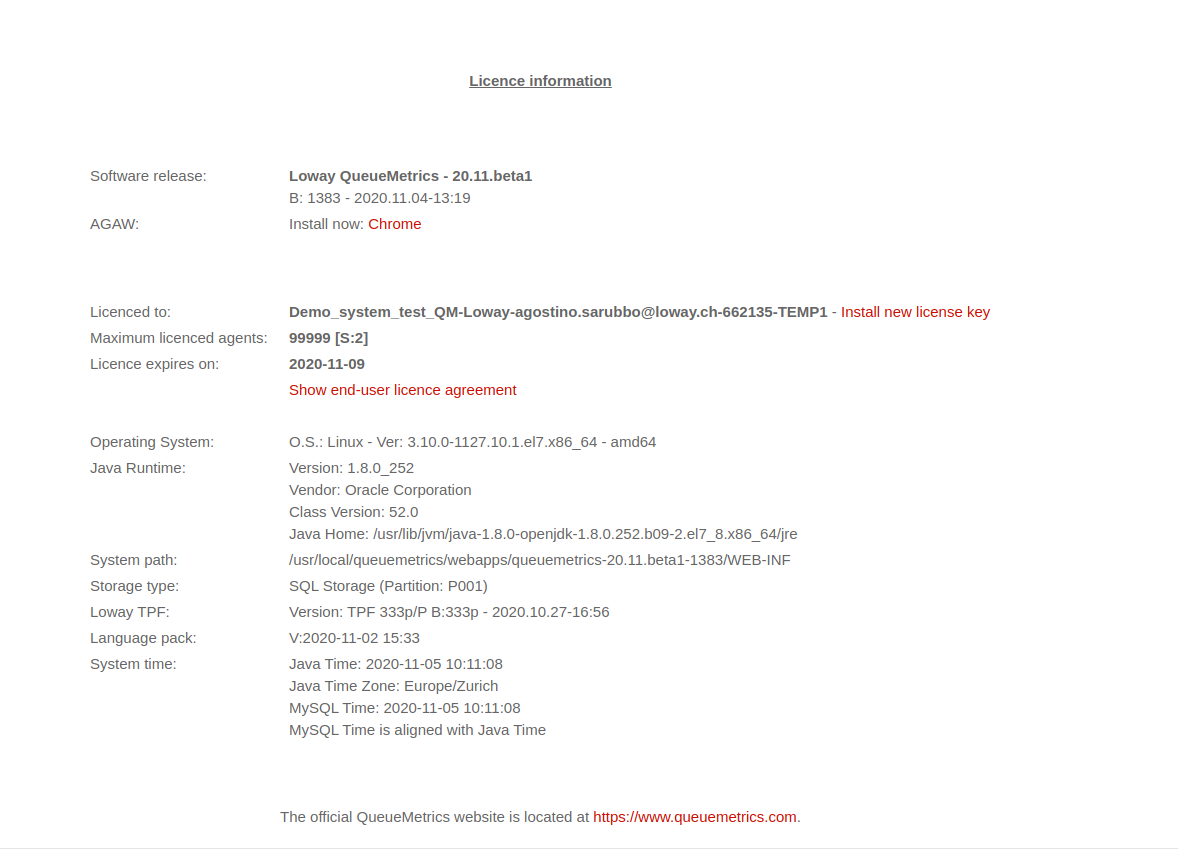
This page shows the current release of the software and the current license information.
If you are running a free demo version, you will see that the maximum number of licensed agents is 2 and an additional text will remind you on how to register.
You can also see some information being shown on the Operating System and Java version being used. Such information is very useful to in the case of errors and should be sent to Loway in the case you think you have found a bug.
If QueueMetrics is to be run on a publicly-accessible box, it is possible to hide all technical information from the user by setting a configuration property.
Change Password and Theme
In the User Information page, accessible from the Header icon bar by clicking on the "Info" icon, the user can change their own password, and select the QueueMetrics theme to be displayed.
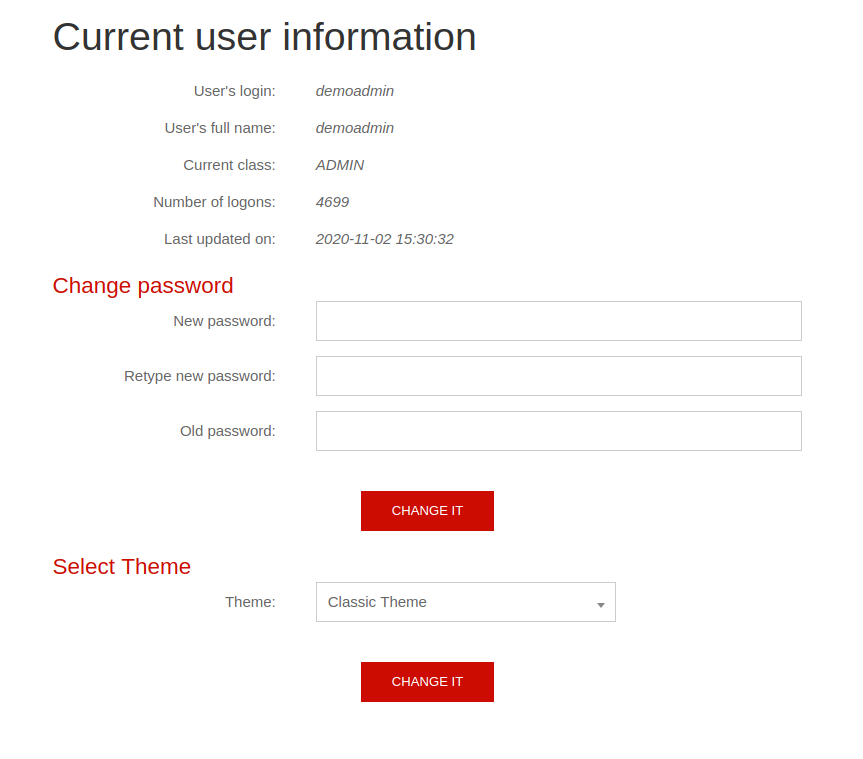
By selecting the desired theme, and clicking on the Change It! button, the user can apply the selectd theme.
Now, and on all subsequent logins, the theme will be displayed as selected.
| This information is stored as a Cookie for the user. |
Automatic URL login
It is possible to use a direct link to log in into QueueMetrics from an external browser application.
If you click on an URL like the following:
http://ipaddress:8080/queuemetrics/qm_autentica.do?AUTH_logon=demoadmin&AUTH_password=demo
then the user will be implicitly logged in as "demoadmin" password "demo". Auth parameters can be passed in either HTTP GET or POST, with the advantage of POST of making them invisible to the calling user.