Configure your PBX
Configure the PBX
Point your browser to your PBX server; you should see a welcome screen.
When using FreePBX:
-
Click on FreePBX Administration
-
Enter user admin and your password as credentials
You should see the FreePBX welcome screen.

Create inbound queues
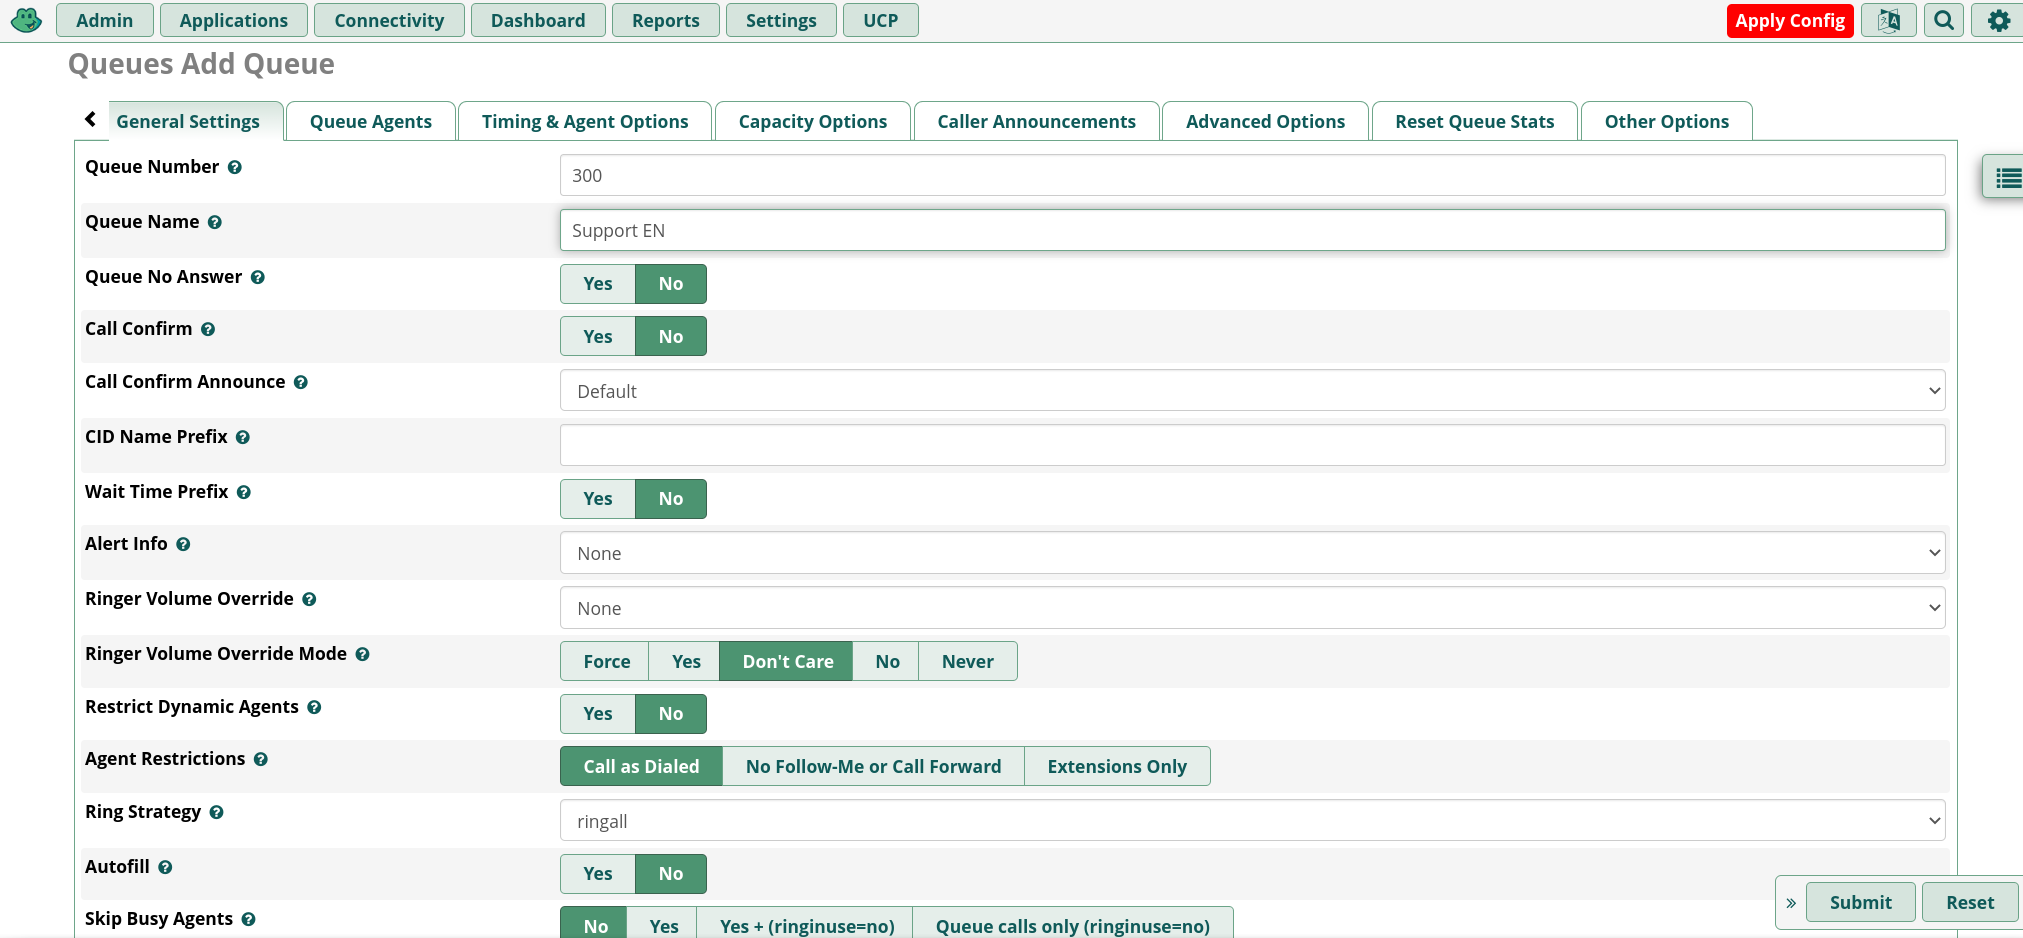
Click on Queues and create a new one with the following parameters:
-
Queue number: 300
-
Queue name: Support EN
-
Ring strategy: rrmemory
-
Call recording: wav49
Leave all other settings blank.
Click on "Apply configuration changes", "Continue with reload".
You should see a result like the following one:
Likewise, create queues 301 and 302 in turn.
Create extensions
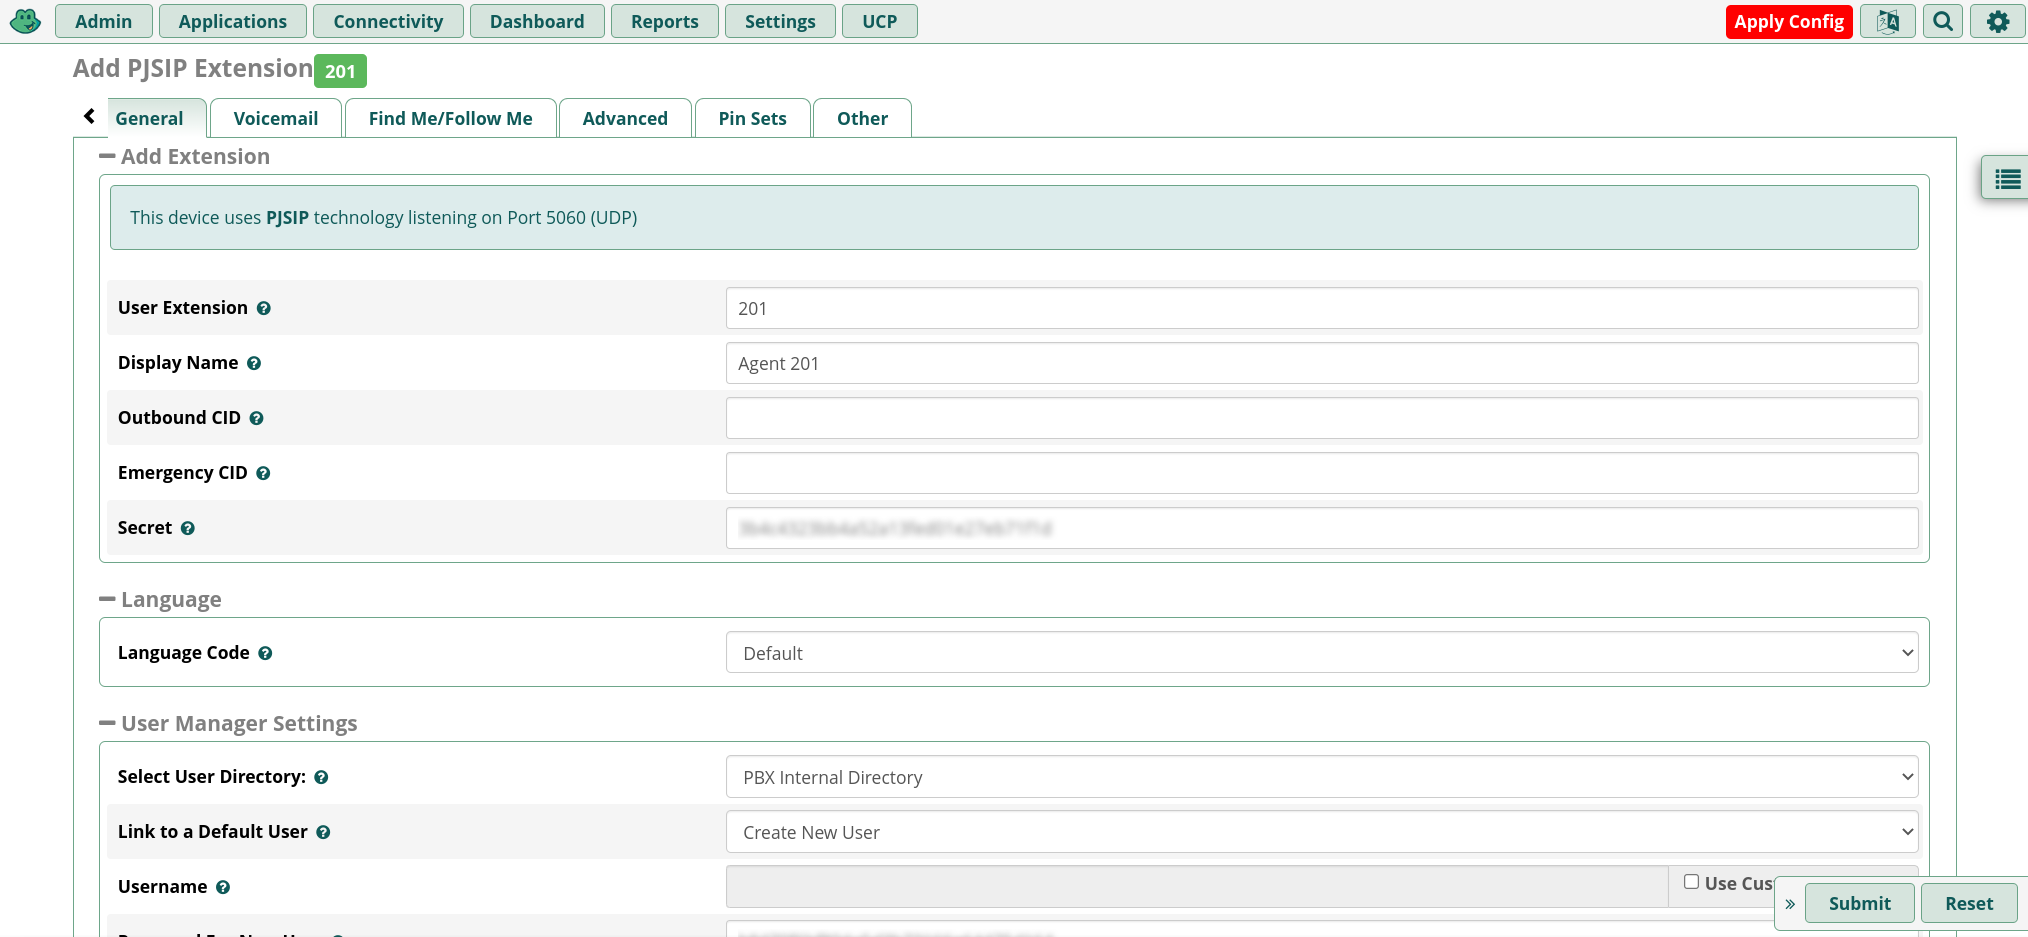
If you have not already done so, for the purpouse of this tutorial you should create three SIP extensions and associate them to three physical or software phones.
They should be named 400, 401 and 402.
Once this is done, apply configuration changes and try placing some test calls, to make sure that all phones are working.
| The picture above reports extensions 200 and 201. You need to generate extensions 200, 201 and 202 only if you don’t want to enable hotdesking. In this case we assume that agents with code 200 will answer calls from the extension 200 and so on. To explain how the hotdesking funcionality could be implemented you need to define the extensions 400, 401 and 402 instead of the 200 and 201. |